How to Prep Metal for Powder Coating: A Step-by-Step Guide
Proper metal preparation stops peeling and poor adhesion before coating begins. It involves cleaning steps to remove oils, rust, and contamination, followed by surface prep like blasting or chemical conversion to create a stable, dry substrate for the powder coat.
- Remove all oils and contaminants before applying any powder coating.
- Surface prep changes the metal texture to improve mechanical adhesion.
- Verify dryness and cleanliness before the part enters the oven.
- Document each step to trace defects back to the preparation process.
Why Metal Preparation Matters for Adhesion
Powder coating fails when the substrate rejects the binder. The polymer film needs a clean, dry, and properly textured surface to grip the metal. If oils, rust, or dust remain, the coating may look fine at first but will peel, blister, or show pinholes later. Adhesion is a mechanical and chemical bond formed between the cured coating and the metal. Without that bond, gravity, vibration, or thermal cycling will separate the layers.
Engineers and procurement teams need a repeatable sequence. The goal is to remove every contaminant and create a consistent profile. This process is called metal preparation. It happens before the part touches the powder. The quality of the finish is determined here, not in the oven. A perfect powder mix cannot save a dirty substrate.
The sequence below assumes a standard shop environment. Adjustments are needed for stainless steel, aluminum, or coated parts, but the core logic remains the same. Stainless steel often requires different degreasing agents to handle its passive layer. Aluminum is soft and easily gouged by abrasive media. Coated parts, such as galvanized steel, need specific steps to handle zinc salts and prevent flash rust.
Prerequisites Before Starting Surface Prep
Check the incoming material first. Raw steel, galvanized steel, and cast iron behave differently. Raw steel often carries mill scale, which is a tough layer of iron oxide. Galvanized steel carries zinc salts and a brittle coating layer. Cast iron often has deep pits and porous surfaces that trap oils. Knowing the material dictates the cleaning intensity.
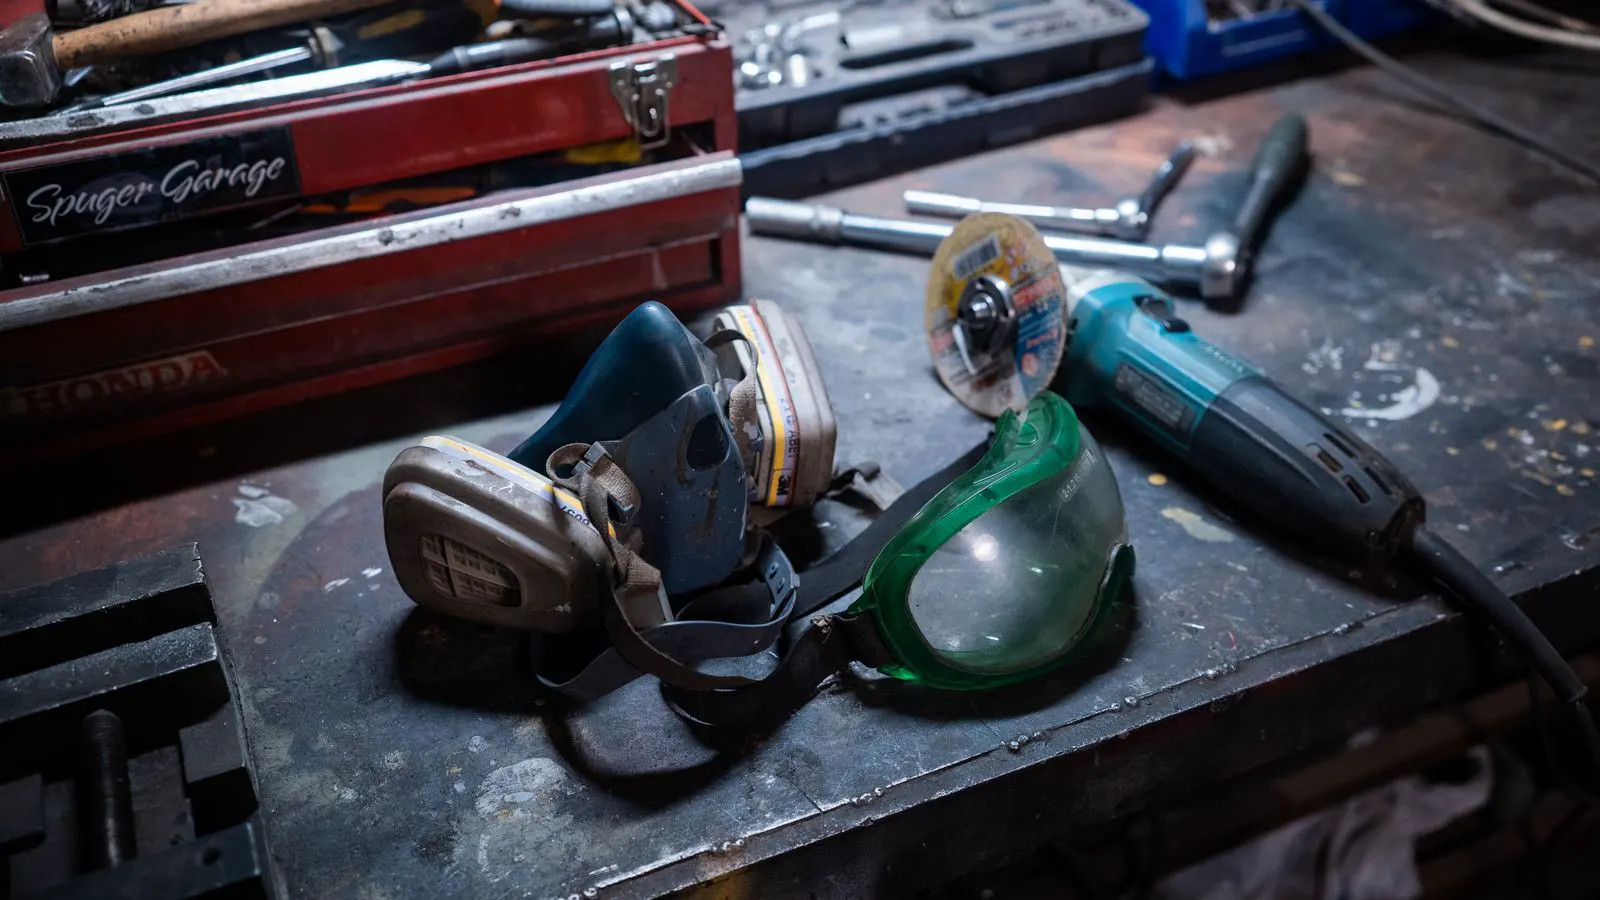
Have the right tools ready. A blast cabinet, chemical cleaners, or a degreasing line must be available. PPE is non-negotiable. Respirators for blasting, gloves for chemicals, and eye protection for all stages. Without proper PPE, the operator risks health issues that can interrupt production and compromise safety.
Review the part drawings. Some areas require masking. Critical dimensions need protection from blasting media. Identify where the powder coat must not be thick or where the finish must be smooth. For example, a machined faceplate may need masking to prevent media impact, while a structural beam needs full surface preparation for maximum adhesion.
Step 1: Remove Loose Contaminants
Start with dry cleaning. Blow off dust with compressed air. Wipe visible grease with a lint-free cloth. This step removes surface debris that would otherwise embed in the coating. Loose dirt and sand particles act as fillers in the wet or dry state. If they are not removed, they remain trapped between the metal and the powder, creating weak points in the film.
If the part has heavy grease, a solvent wipe or degreasing spray works better. Let the solvent evaporate fully before moving on. Moisture trapped under the coating causes blistering. Solvents like isopropyl alcohol or mineral spirits evaporate quickly, but if the air is humid, evaporation slows. Check the surface with a finger. If it feels cool or damp, wait longer.
Check for fingerprints. Skin oils are a common cause of local adhesion failure. A single fingerprint can cause a localized blister that expands during baking. Wipe high-touch areas thoroughly. Use a lint-free cloth to avoid leaving fibers that can look like defects in the finish.
Step 2: Degrease the Surface
Degreasing is the first major cleaning step. Use a solvent-based or alkaline degreaser. Apply it evenly to the entire part. The goal is to break down organic contaminants. Oils, waxes, and coolants are hydrophobic. They repel water and prevent the coating binder from wetting the metal.
For complex parts, an ultrasonic bath or a degreasing line is more consistent than hand washing. Hand washing often misses internal cavities and threaded holes. Ultrasonic cleaning uses sound waves to agitate the liquid, driving it into small crevices. This is critical for electronic enclosures or parts with tight tolerances. Ensure the degreaser is compatible with the metal. Some alkaline cleaners can attack anodized aluminum or certain alloys.
Rinse with clean water after degreasing. If using a water-based cleaner, this is mandatory. Solvent-based cleaners usually require a wipe-off instead of a rinse. If you use a water-based degreaser, the part must be dried completely. Use compressed air or a hot air dryer. Any water left on the surface will flash off in the oven and create voids.
Step 3: Remove Rust and Scale
For raw steel, remove rust. Light surface rust may not need blasting, but embedded rust or mill scale requires mechanical removal. Mill scale is a strong bond to the base metal. If it is not removed, the coating will adhere to the scale. When the scale flakes off, the coating peels with it.
Grinding, sanding, or blasting are the main methods. Blasting is the most common for large parts. It removes scale and creates a profile. Grinding is slower but offers more control. It is suitable for small parts or areas that need precise cleaning. Sanding with abrasive paper is a manual option for spot repairs or small batches.
Profile matters. A smooth surface is good for appearance, but it offers less mechanical grip. A textured surface helps the powder coat adhere. The texture should be consistent across the part. A deep profile traps powder, but it also traps contaminants. A shallow profile is smoother but may not provide enough mechanical keying for heavy use. The profile depth must match the coating thickness and the service conditions.
Step 4: Apply Chemical Conversion (If Required)
Some coatings need a chemical conversion coat. This is often a phosphating or chromate treatment. It creates a thin layer that improves adhesion and corrosion resistance. Phosphating converts the surface into iron phosphate. This layer is porous and helps the powder coat bond. It also provides a barrier against corrosion.
Follow the specific chemistry instructions. Temperature, time, and concentration must be controlled. Deviations lead to uneven conversion and poor coating performance. If the bath temperature is too low, the conversion is slow and incomplete. If it is too high, the surface may be damaged or the chemicals may degrade. Use a thermometer and a timer.
Rinse thoroughly after conversion. Residue from the chemical bath can cause staining or adhesion issues. Use deionized water if possible. Tap water can leave mineral deposits that look like white spots in the coating. Rinse until the water runs clear.
Step 5: Surface Prep by Blasting or Sanding
For many parts, blasting is the primary surface prep method. It removes contaminants and creates a uniform texture. Blasting also opens the surface pores, allowing the powder to penetrate. This is called etching. Etching increases the surface area and improves the mechanical bond.
Aluminum oxide or glass beads are common media. The choice depends on the metal and the desired finish. Softer media is better for delicate parts. Harder media is better for heavy rust removal. Glass beads are often used for aluminum because they are less abrasive. Aluminum oxide is harder and is used for steel. The size of the media also matters. Larger grit creates a deeper profile. Smaller grit creates a smoother finish.
Control the blast distance and angle. Too close causes pitting. Too far causes uneven coverage. Maintain a consistent distance for the whole part. The operator must move the gun in a steady pattern. Overlapping passes ensure even coverage. Check the part frequently. If one area is too rough, adjust the distance or the media size.
Step 6: Clean Again After Blasting
Blasting creates dust. This dust is a contaminant. Blow off the part with compressed air again. The dust from the metal and the media mixes with residual oils. If this mixture is not removed, it becomes part of the coating.
Use a dry, clean cloth to wipe the surface. Check for oil spots. Blasting can drive oil into the metal pores. If oil is present, it will release during baking and cause defects. Look for dark spots or areas that look wet. These are signs of trapped oil.
If the part will sit before coating, protect it. Dust and humidity are enemies. Cover the part or move it to a controlled environment. A part that sits in a dusty room for hours is no longer clean. The goal is to move the part from the prep area to the coating booth as quickly as possible.
Step 7: Final Inspection and Verification
Inspect the surface before powder coating. Look for contaminants, moisture, or uneven texture. Use a magnifying glass if needed. Small defects are easy to miss with the naked eye.
Use a visual check and a touch test. The surface should feel clean and dry. If it feels sticky or wet, it is not ready. A sticky surface indicates residual oil or chemical residue. A wet surface indicates moisture. Both require re-cleaning.
Check the profile. It should be consistent. If the profile is too smooth, the coating may not grip. If it is too rough, the finish may look poor. Run a finger across the surface. It should feel rough but uniform. If it feels smooth in some areas and rough in others, the blasting was inconsistent.
Common Mistakes in Metal Preparation
Skipping the degrease step is the most common error. Engineers assume the part is clean from the factory. It is not. Parts come from machining centers with coolant and oil. They sit in warehouses with dust. They are handled by workers with oily hands. Every part needs degreasing.
Blasting too aggressively damages the part. It can remove material or create a profile that is too deep for the powder coat to fill. This is common on thin-walled parts. If the profile is too deep, the powder coat will look rough and may crack. Adjust the blast parameters for thin materials.
Forgetting to rinse after chemical treatment leaves residue. This residue reacts with the powder and causes defects. Residue can cause discoloration or soft spots. Always rinse after conversion.
Allowing moisture to settle before coating is a major risk. Even a thin film of water can cause blistering in the oven. Water boils and expands, pushing the powder off the metal. This creates bubbles or voids. Ensure the part is dry before it enters the oven.
How to Verify the Preparation is Complete
A final verification step is critical. Do not rely on a single person’s check. Use a checklist.
Check for visual cleanliness. No dust, no oil, no rust.
Check for dryness. No water spots or dampness.
Check for profile. Consistent texture.
Check for masking. All protected areas are intact.
Document the verification. Record the date, the operator, and the part number. If a defect appears later, this record helps trace the problem to the preparation stage. This documentation is part of quality control. It proves that the process was followed.
Table of Preparation Methods
| Method | Best For | Key Risk |
|---|---|---|
| Solvent Degrease | Oils and Grease | Incomplete Evaporation |
| Water Wash | Chemical Residue | Moisture Retention |
| Blast Cleaning | Rust and Scale | Pitting and Uneven Texture |
| Chemical Conversion | Corrosion Resistance | Chemical Contamination |
| Final Wipe | Dust and Debris | Introducing New Oils |
Final Checks Before Coating
The part is ready when it passes all checks. The surface is clean, dry, and textured.
Move the part to the powder coating area quickly. Do not leave it exposed. The longer it sits, the higher the risk of recontamination. Airborne particles settle on the surface. Humidity adds moisture. Both compromise the bond.
If the part waits, cover it. Use a clean, dry bag or a dust cover. Do not use plastic that traps moisture. Plastic can hold condensation against the metal. This creates a microenvironment where rust can form.
The goal is a predictable process. If you follow these steps, the powder coating will perform as expected. If you skip a step, the coating will fail. Adhesion is a result of preparation, not an accident of coating application.
Frequently asked questions
How long should I wait after degreasing before powder coating?
Wait until the surface is completely dry. For solvent-based cleaners, this may take minutes. For water-based cleaners, use compressed air to dry the part immediately.
Can I powder coat a part with light surface rust?
No. Remove all rust. Even light rust will continue to oxidize under the coating and cause failure.
What is the purpose of a chemical conversion coat?
It creates a thin layer that improves adhesion and corrosion resistance. It is not a substitute for proper cleaning.
How do I know if the blast profile is correct?
Check for consistency. The texture should be uniform across the part. If it is too smooth, the coating may not grip. If it is too rough, the finish will look poor.
Is it okay to leave a prepared part sitting for a few hours?
No. Cover the part to protect it from dust and moisture. The longer it sits, the higher the risk of recontamination.