How to Prep Stainless Steel Before Bead Blasting
Preparing stainless steel for bead blasting requires thorough degreasing, rust removal, and mechanical cleaning. Proper prep prevents media rebound, ensures even surface profile, and protects the final finish from contamination or uneven sandblasting results.
- Remove all oils and contaminants before blasting to prevent media rebound and uneven surface cleaning.
- Address rust and oxidation early with mechanical or chemical methods to avoid embedding stains in the finish.
- Inspect parts for machining marks, weld spatter, and geometric features that affect blasting uniformity.
- Use a final verification step to confirm the surface is dry, clean, and free of loose debris before media application.
Why Surface Prep Determines the Quality of Bead Blasting
Stainless steel bead blasting is a finishing process that uses small, spherical abrasive particles to clean, matte, and uniform metal surfaces. The quality of the final finish depends heavily on the condition of the part before the abrasive hits the workpiece. If the steel still holds grease, coolant residue, or surface oxidation, the beads will not penetrate the material evenly. The finish may look blotchy, and the surface profile may vary from one area of the part to another.
Parts that come off the lathe or the welding station often carry a layer of cutting oil, emulsion, or flux. These materials can trap air beneath the media or cause the abrasive to slide off the surface instead of striking it with enough force to create a clean profile. For engineers and buyers, the prep stage is where the actual work happens. Skipping it or rushing it creates problems that are expensive to fix after the fact.
This guide outlines a practical process for preparing stainless steel parts before bead blasting. It covers the prerequisites, the step-by-step cleaning sequence, common mistakes that compromise the finish, and a final verification check. The goal is to get the part to a state where the abrasive can do its job without interference.
Prerequisites: What You Need Before You Start
Before you begin cleaning, you need to know what the part is made of and what it will be used for. Stainless steel comes in many grades, and each responds differently to cleaning agents and mechanical abrasion. The part geometry also matters. A flat plate is easier to clean uniformly than a part with deep pockets, undercuts, or thin walls.
You need the following items and information:
| Item | Purpose |
|---|---|
| Part specification sheet | Confirms steel grade, finish requirements, and any prohibited chemicals |
| Degreasing solvent | Removes oils, coolants, and wax from the surface |
| Rust remover or oxide stripper | Dissolves or lifts surface oxidation and rust |
| Soft brushes or pads | Mechanical removal of loose material and weld spatter |
| Clean water source | Final rinse to remove chemical residues |
| Compressed air or blower | Dries the part and removes loose debris |
| Inspection light and loupe | Final visual check of the surface |
If the part is from a supplier, request a certificate of material or a material test report. This confirms the grade of stainless steel and helps you select the right cleaning chemistry. If the part is in-house, check the machining log. Know if the part was machined with oil-based coolant, if it was welded, or if it sat in storage. These details change the cleaning sequence.
Step 1: Inspect the Part for Surface Condition
Begin with a visual and physical inspection of the part. Look for weld spatter, burrs, machining marks, and areas of heavy oxidation. Use a bright light and a loupe for small features. Run your fingers gently over the surface to detect rough spots or sharp edges that could damage the part during handling.
This step matters because different surface conditions require different cleaning approaches. Weld spatter, for example, is hard to remove with solvent alone. It often needs mechanical grinding or a dedicated shot blasting step before the bead blasting. If you do not identify it early, it will remain embedded in the finish and show up as a dark spot or a raised area.
For parts with complex geometry, mark or photograph the areas that need special attention. Deep pockets can hold solvent and chemicals long after the rest of the part is rinsed. Thin walls can be damaged if you use a stiff brush or too much mechanical force.
Step 2: Remove Loose Debris and Weld Spatter
Before applying any chemical or solvent, remove loose material. Use a soft brush, a pick, or a low-pressure air blast to clear dust, chips, and loose weld spatter. For stubborn spatter, use a small die grinder or a rotary tool with a abrasive disc. Keep the tool moving to avoid gouging the base metal.
This step prevents the abrasive media from hitting a contaminated surface. If you blast over loose debris, the media will simply push the debris around rather than cleaning the steel. It also protects the blasting equipment from clogging. A clogged nozzle or a burst media bag can be a costly repair.
For parts with deep pockets, use a small brush to reach inside. Do not use high-pressure air on thin-walled parts, as the force can deform the surface or blow fine particles into the blasting chamber.
Step 3: Degrease the Surface
After removing loose debris, degrease the part. Submerge the part in a degreasing solvent or use a solvent wipe, depending on the size and shape. Common degreasers include citrus-based cleaners, hydrocarbon solvents, or alkaline cleaners. Choose a product that is safe for the specific grade of stainless steel.
The reason for this step is to remove oils, coolants, and wax. These materials create a barrier between the abrasive and the metal. They also reduce the effective impact force of the beads, leading to an uneven surface profile. For parts that have been machined with oil-based coolant, degreasing is the single most important step in the prep process.
If the part is large or difficult to submerge, use a spray system or a heated cleaning tank. Ensure the solvent penetrates into all surfaces, including undercuts and threaded holes. Let the part soak for the time recommended by the product manufacturer. Do not skip the dwell time.
Step 4: Treat Rust and Oxidation
Stainless steel does not rust in the way carbon steel does, but it can develop surface oxidation, which appears as a dark gray or black layer. This layer can form from welding heat, exposure to chlorides, or prolonged storage in a damp environment. If the part has visible rust or heavy oxidation, you need to treat it before blasting.
Use a rust remover or oxide stripper designed for stainless steel. Apply the product according to the manufacturer’s instructions. Let it dwell. For light oxidation, a mechanical method may be sufficient. Use a fine abrasive pad or a non-marring wire brush to lift the oxidation. For heavy oxidation, a chemical stripper may be needed.
The reason for this step is to prevent the oxidation from being embedded in the surface profile. If you blast over oxidation, the beads will knock it around but not remove it. The result is a mottled finish with dark patches that do not match the surrounding area. For parts that will be used in food, medical, or chemical applications, removing oxidation is a quality requirement, not just a cosmetic one.
Step 5: Rinse and Remove Chemical Residues
After degreasing and treating oxidation, rinse the part thoroughly. Use clean water to remove all traces of solvent, rust remover, and oxide. For parts with deep pockets or threaded holes, use a soft brush to agitate the water inside. Do not use a high-pressure rinse on thin-walled parts, as the force can cause water to remain trapped.
The reason for this step is to prevent chemical residues from reacting with the abrasive media or causing corrosion during storage. Some rust removers leave a film that can oxidize the steel if not removed. Some solvents can react with certain blasting media, creating dust or reducing the effectiveness of the abrasive.
If the part is not immediately going to be blasted, it needs to be dried. Use compressed air, a blower, or a drying oven. Moisture on the surface can cause flash rust, especially if the part is stored in a humid environment.
Step 6: Final Cleaning and Drying
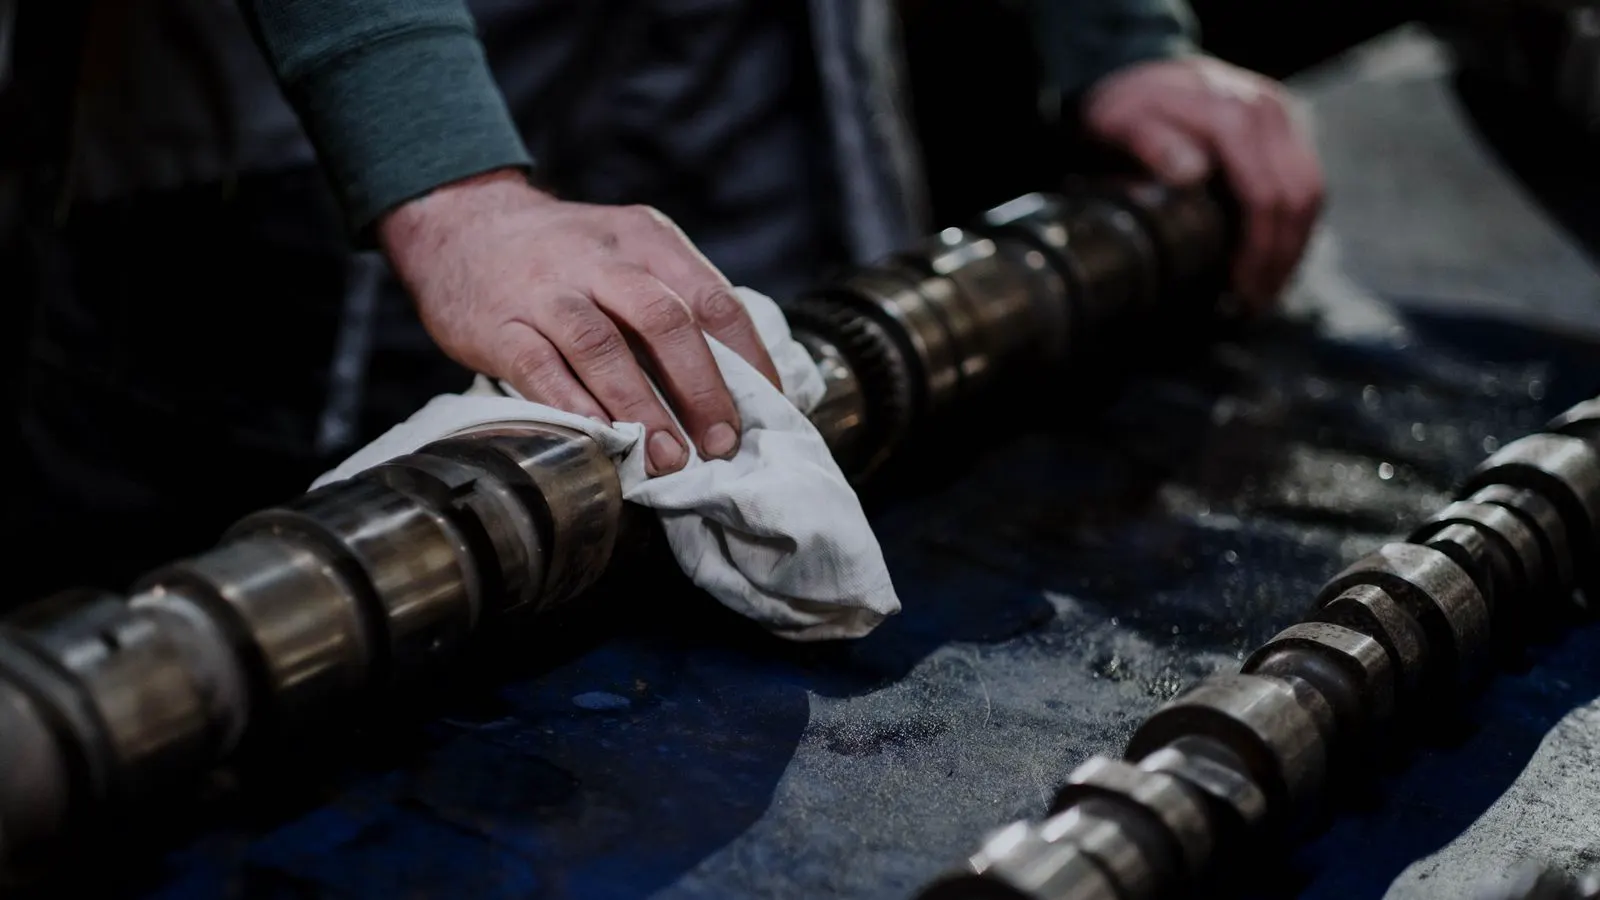
After the chemical cleaning is complete, perform a final cleaning. Wipe the part with a clean, lint-free cloth to remove any remaining water spots or film. For parts that will be blasted in a closed system, a final air blow is standard. This removes loose dust and fine particles that can be picked up during handling.
The reason for this step is to ensure the surface is free of any material that could interfere with the blasting process. Even a thin film of water or a residue from a cleaning product can cause the media to rebound or create a uneven surface profile. For high-precision parts, a final wipe with a clean solvent is often recommended.
Dry the part completely. Use a drying agent or a desiccant if the part will be stored before blasting. A dry part is a part that is ready for the abrasive.
Step 7: Verify the Surface is Ready for Blasting
Before placing the part in the blasting chamber, perform a final verification. Check the surface with a bright light and a loupe. Look for any remaining contamination, water spots, or loose material. Run your fingers gently over the surface to detect any rough spots or edges that could be damaged during handling.
This step is the final check. It catches any missed issues before they become problems in the blasting process. If you find any contamination, go back to the appropriate cleaning step. Do not try to blast over a contaminated surface. It will only make the problem worse.
For parts with complex geometry, check the deep pockets and undercuts. Use a small mirror or a borescope if needed. These areas are the hardest to clean and the easiest to miss.
Common Mistakes That Ruin the Finish
One of the most common mistakes is skipping the degreasing step. Many operators assume that the beads will clean the part. They do not. The beads clean the surface, but they do not remove oils or coolants. If you blast over a greasy part, the finish will be uneven and the surface profile will be inconsistent.
Another common mistake is not addressing oxidation. Stainless steel can develop a dark oxidation layer that is easy to overlook. If you do not remove it, it will show up in the final finish. For parts that will be used in visible applications, this is a major quality issue.
A third mistake is not drying the part thoroughly. Moisture on the surface can cause flash rust or react with the media. It can also cause the part to rust during storage. Always dry the part completely before blasting.
A fourth mistake is using the wrong cleaning product. Some rust removers are too aggressive for certain grades of stainless steel. They can pit the surface or alter the grain structure. Always check the material compatibility before using a chemical product.
A fifth mistake is not inspecting the part for weld spatter or machining marks. These features can be difficult to remove after blasting. Identify them early and address them with mechanical methods before the chemical cleaning step.
Final Verification and Handoff
After the part is ready for blasting, record the prep details. Note the cleaning products used, the dwell times, and the final drying method. This information is useful if the final finish does not meet expectations. It helps you troubleshoot the process and adjust the prep for the next batch.
Hand the part to the blasting operator with clear instructions. Note any areas that need special attention, such as deep pockets or thin walls. The operator can adjust the blasting parameters to match the part’s needs. A well-prepped part is a part that is ready for the finish. The prep stage is where the quality of the final product is determined.
Frequently asked questions
Can I bead blast stainless steel without degreasing?
No. Oils and coolants create a barrier that prevents the abrasive from making proper contact. Degreasing is required to achieve a uniform surface profile.
What if the stainless steel has light oxidation?
Light oxidation can be removed with a non-marring wire brush or a fine abrasive pad. Heavy oxidation requires a chemical stripper designed for stainless steel.
How do I know if the part is ready for blasting?
The surface should be dry, free of visible contamination, and free of loose material. A final visual and tactile inspection confirms readiness.
Can I use the same cleaning process for all stainless steel grades?
No. Different grades may require different cleaning products or mechanical methods. Always check the material compatibility before using a chemical product.
What happens if I blast over loose weld spatter?
The media will push the spatter around instead of removing it. The spatter will remain embedded in the finish and show up as a dark spot or a raised area.