Fixing Poor Surface Profile After Bead Blasting Metal
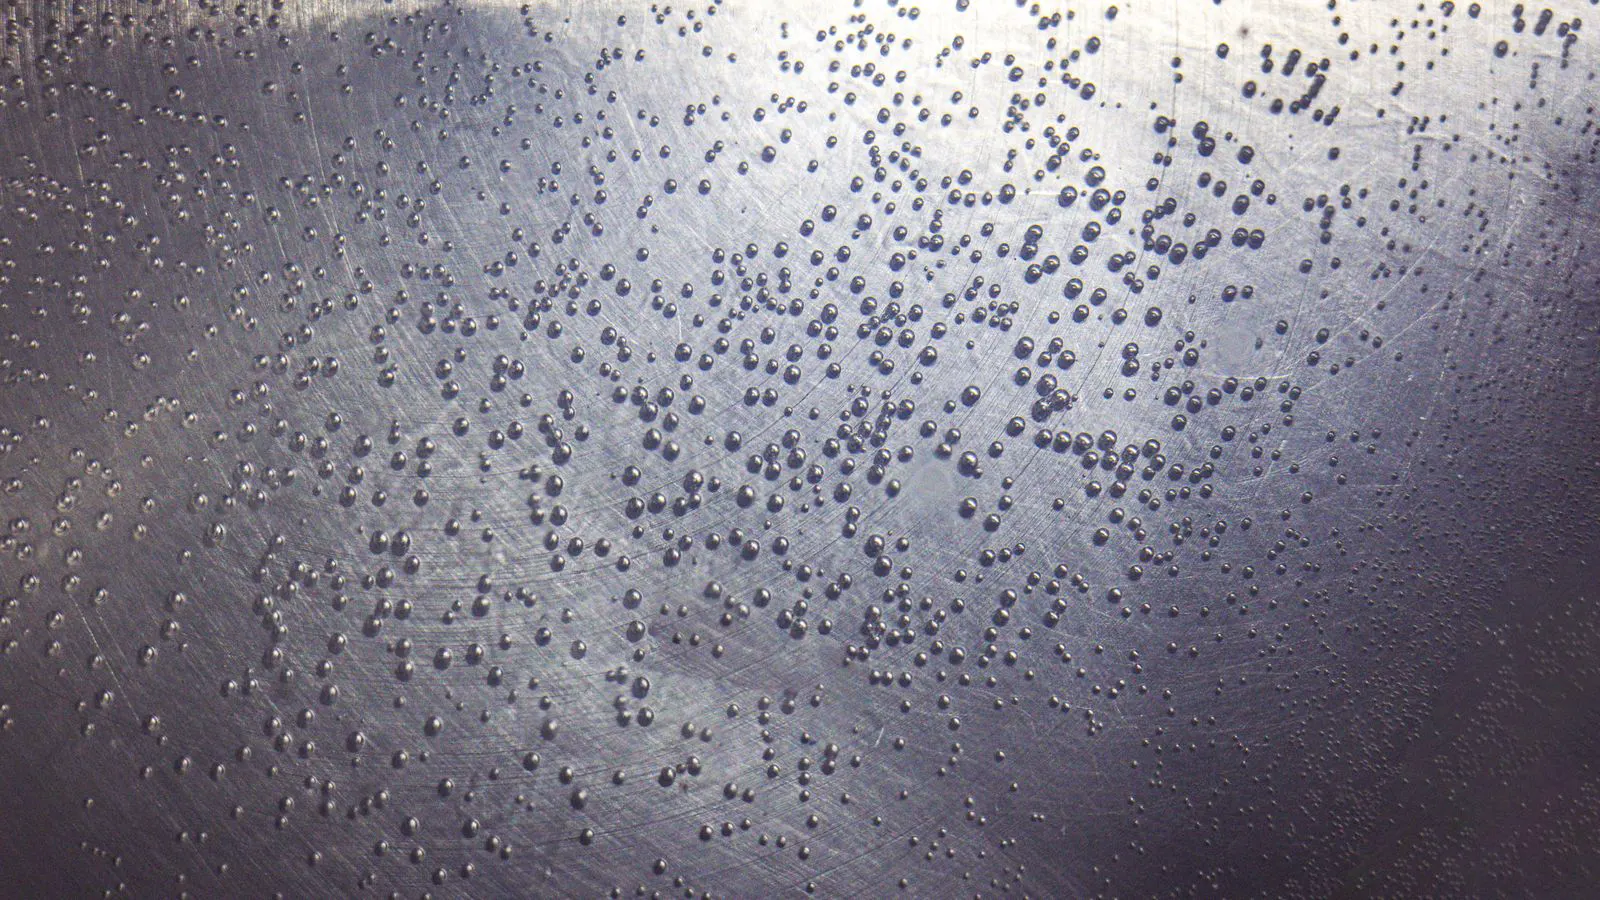
Poor surface profile after bead blasting usually stems from incorrect media selection, inconsistent blast distance, or inadequate part cleaning. This guide explains how to identify common symptoms, apply targeted fixes, and prevent profile errors on future batches.
- Inconsistent profile depth is a common result of varying blast distance or nozzle wear.
- Use a calibrated profilometer to verify surface roughness before applying a topcoat or assembly.
- Selecting the correct bead size and blast pressure prevents over-blasting and under-blasting.
- Document media type, pressure, and distance for every batch to maintain traceability.
- Pre-cleaning and proper fixture design reduce the risk of contamination and uneven coverage.
Why Bead Blasting Produces Inconsistent Surface Profiles
Bead blasting is a standard method for preparing metal surfaces before painting, coating, or assembly. The process uses spherical abrasive media to remove contaminants and create a uniform texture. When the result does not match the required specification, the issue is rarely random. It usually traces back to a specific variable in the blasting setup.
Engineers and buyers often assume the problem lies with the media itself. In many cases, the media is sound. The fault appears in the machine settings, the part geometry, or the inspection method. A shallow profile may indicate too low a pressure. A pitted or gouged surface suggests a pressure that is too high. An uneven finish points to a change in nozzle distance or a clogged nozzle.
Fixing these issues requires more than re-running the part. You need to isolate the variable that caused the failure. The following sections break down the most common symptoms, their likely causes, and the practical steps to correct them.
Common Symptoms of a Bad Bead Blasted Surface
Before applying a fix, you must accurately describe what you are seeing. A “bad” surface can mean three very different things. It can be too smooth, too rough, or uneven. Each symptom points to a different set of variables.
A surface that looks clean but fails a coating adhesion test is often too smooth. The media did not open the metal grain enough to provide mechanical keying. This is a failure of depth, not cleanliness.
A surface with visible pits, craters, or a glassy appearance is over-blasted. The energy transferred to the metal exceeded the material’s tolerance. This is a failure of force.
A surface where one side is rough and the other is smooth is uneven. The abrasive did not reach all areas with the same intensity. This is a failure of coverage.
You can also encounter a profile that is uniform but still fails. This happens when the profile is in the wrong range for the intended finish. The goal of bead blasting is not simply to make a part look matte. It is to achieve a specific roughness value in microns or microinches.
Likely Causes and Corrective Actions
The table below summarizes the most frequent causes of poor surface profile after bead blasting metal and the corresponding corrective actions.
| Symptom | Likely cause | What to do |
|---|---|---|
| Surface is too smooth | Blast pressure too low, bead size too small, or distance too far | Increase pressure gradually, use a larger bead, or reduce nozzle distance. |
| Surface has pits or craters | Blast pressure too high, bead size too large, or distance too close | Lower the pressure, switch to a smaller bead, or increase distance. |
| Surface is uneven | Nozzle clog, worn nozzle, or part not held at a constant distance | Clean or replace the nozzle. Re-fix the part to ensure even exposure. |
| Profile is too deep | Media is too coarse for the material or the part is steel | Use a finer media grade or a different abrasive type suited to the substrate. |
| Profile is inconsistent | Media flow is unstable or the blast pattern is misaligned | Check the hopper for blockages. Align the nozzle to center the blast pattern. |
| Surface is contaminated | Part was not cleaned before blasting or the media is wet | Wash the part with a solvent. Dry the media thoroughly before use. |
Addressing the root cause is faster than trying to mask the problem with a second blasting pass. A second pass adds cost and can further degrade the surface. If you must re-blast, reduce the pressure to avoid compounding the error.
How to Correct a Too Smooth Surface Profile
A profile that is too smooth is the most common complaint in decorative or functional coatings. The metal surface may look clean, but the coating will not bond well. The mechanical interlock is missing.
To increase the profile depth, you need to increase the energy delivered to the metal. The first variable to adjust is the blast pressure. Raise it in small increments. If the pressure is already at the maximum safe level for the material, you must change the media.
Using a larger bead size increases the kinetic energy of each particle. A larger bead transfers more force per impact. This is the most effective way to deepen the profile without increasing the risk of damage. If you are currently using a fine glass bead, switching to a medium or coarse glass bead will produce a much deeper texture.
Distance is the third variable. Moving the nozzle closer to the part increases the energy density. However, moving too close can create a hot spot. Adjust the distance only after you have optimized the pressure and the bead size.
How to Correct a Too Rough or Over-Blasted Surface
An over-blasted surface is harder to fix. The pits and craters are permanent indentations. You cannot blast a pit out. You can only cover it.
If the surface is slightly over-blasted but still within a workable range, you can use metal polishing to reduce the roughness. This process involves using a softer abrasive or a polishing compound to smooth out the high points. The goal is not to return the surface to a mirror finish. The goal is to flatten the peaks while leaving the valleys.
For a surface that is severely over-blasted, metal polishing may not be sufficient. You may need to use a finer abrasive media to level the surface. This is a slower process. It requires a lower pressure and a very fine bead. The result is a uniform texture, but it will be shallower than the original target.
In some cases, the only option is to reject the part. If the pits are too deep, they will show through the coating. They will also become stress concentration points. This is a critical failure for structural parts.
How to Correct Uneven Coverage
Uneven coverage is a fixture and nozzle problem. If one side of the part is rough and the other is smooth, the abrasive is not reaching all areas with the same intensity.
The first thing to check is the nozzle. A clogged nozzle creates a narrow, concentrated stream. A worn nozzle creates a wide, weak stream. Inspect the nozzle tip. If it is chipped or eroded, replace it. A worn nozzle is a common cause of inconsistent profile.
The second thing to check is the part fixture. The part must be held at a constant distance from the nozzle. If the part is mounted on a stand that is too close, the near side will be over-blasted. If it is too far, the near side will be under-blasted. The far side will always be under-blasted.
To fix this, you need a fixture that holds the part at the optimal distance for the entire surface. This often requires a multi-sided fixture. The part is rotated or repositioned so that every surface is exposed to the blast for the same duration.
You can also use a rotating fixture. This allows the part to turn while the nozzle stays still. This ensures that every point on the part receives the same amount of abrasive. This is the most reliable way to achieve even coverage.
Prevention Tips for Consistent Surface Profile
Prevention is always cheaper than correction. The goal is to set the process so that the first pass is the correct pass.
- Standardize your media. Use the same brand, size, and grade of bead for every batch. Do not mix different media types. This is the single most important variable.
- Calibrate your pressure. Use a pressure gauge on the nozzle. Do not rely on the machine’s internal gauge. The internal gauge is often inaccurate.
- Measure your distance. Use a gauge or a fixture to ensure the nozzle is always the same distance from the part.
- Inspect your nozzle. Check the nozzle tip for wear and clogs before every batch.
- Document your settings. Record the media type, pressure, distance, and time for every part. This creates a traceable record.
Inspecting Surface Profile After Bead Blasting
You cannot fix what you cannot measure. The most common mistake is relying on visual inspection. A part can look fine but still fail the spec.
Use a profilometer to measure the surface roughness. This device gives you a numerical value in microns or microinches. Compare this value to the specification. If it is out of range, you have a problem.
You can also use a surface roughness comparator. This is a visual tool that compares the part to a set of reference plates. It is less accurate than a profilometer, but it is fast and cheap.
For critical parts, you should measure multiple points on the surface. A single measurement is not enough. Measure the center, the edges, and the corners. This gives you a picture of the uniformity.
If you are not equipped to measure the profile, send the part to a third-party lab. They can provide a detailed report. This is the most reliable way to verify the surface profile.
Frequently asked questions
What is the best way to fix a surface that is too smooth after bead blasting?
Increase the blast pressure or use a larger bead size. You can also reduce the nozzle distance. These changes increase the energy transferred to the metal, creating a deeper profile.
Can I fix an over-blasted surface with metal polishing?
Yes, but only if the pits are shallow. Metal polishing can smooth out the high points. If the pits are deep, polishing will not be sufficient. You may need to use a finer abrasive media to level the surface.
Why does one side of my part look rougher than the other?
This is usually a fixture or nozzle problem. The part is not held at a constant distance from the nozzle. A clogged or worn nozzle can also create an uneven blast pattern.
How do I know if my surface profile is correct?
Use a profilometer to measure the roughness in microns. Compare the value to your specification. Do not rely on visual inspection. A part can look fine but still fail the spec.
What is the most common cause of poor surface profile after bead blasting?
The most common cause is incorrect media selection. If the bead size is too small or too large, the profile will be too smooth or too rough. Always use the correct media for the material and the desired finish.