Fixing Chalking in Powder Coated Surfaces
Chalking occurs when the surface layer degrades and rubs off as a white powder. It signals poor adhesion, UV exposure, or formulation errors. Correct it by removing the loose material, sanding, and recoating with a UV-resistant system.
- Chalking is a visible sign that the top layer of a powder coating is failing before the substrate is exposed.
- UV degradation and poor surface preparation are the most frequent drivers of this defect.
- Repair requires mechanical removal of loose material and a proper substrate clean before recoating.
- Prevention relies on using the right resin system for the exposure level and following curing temperatures.
What is chalking and why does it appear
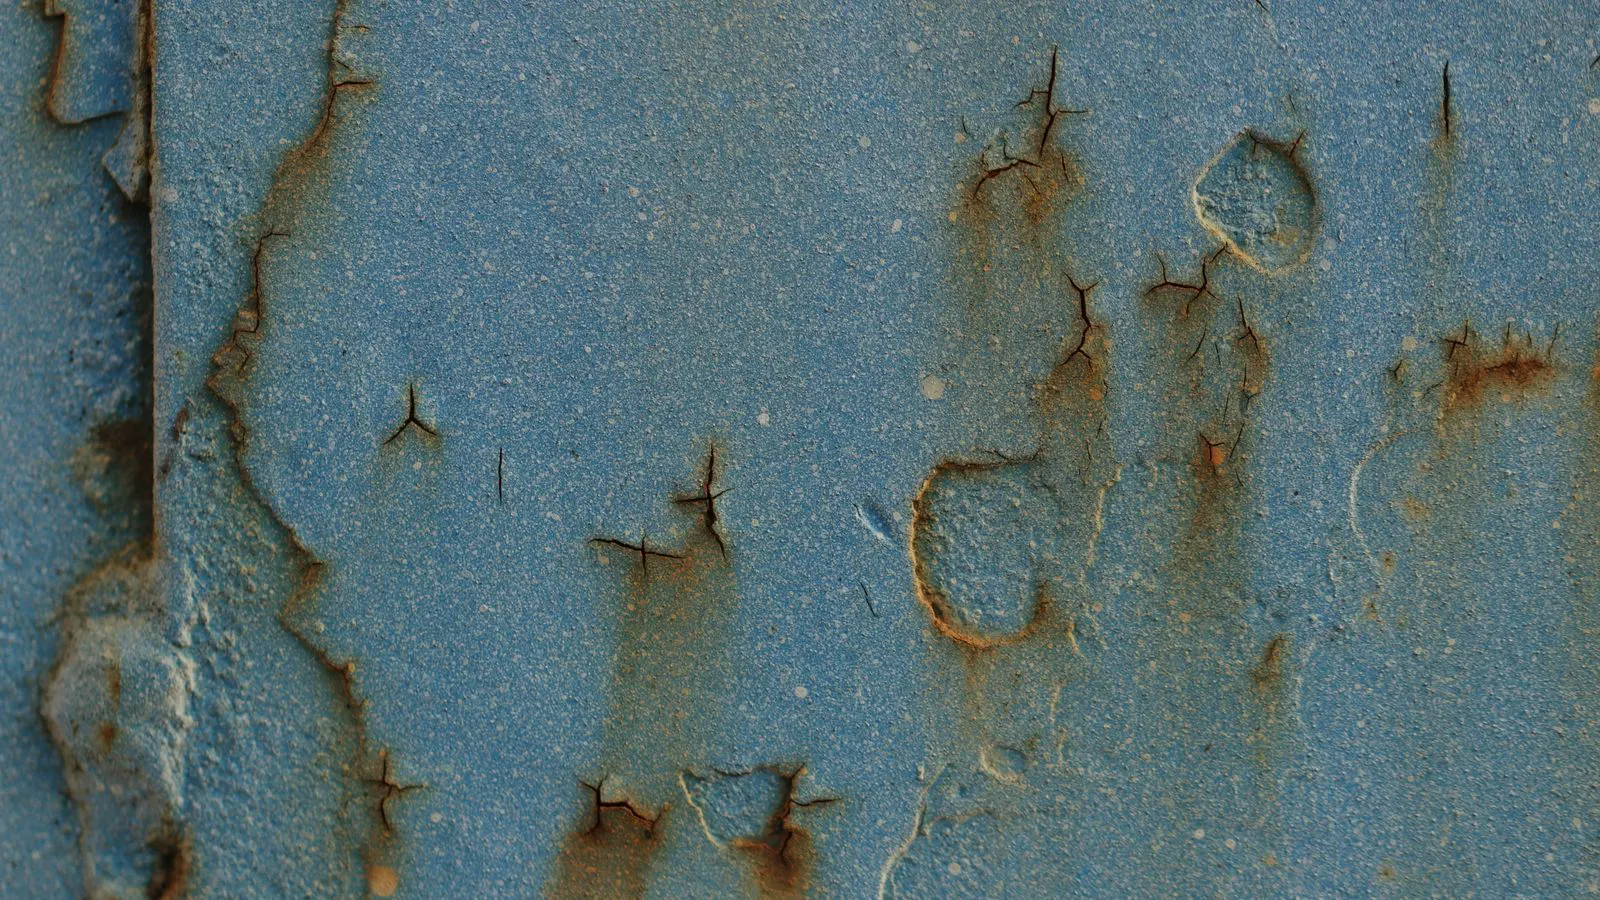
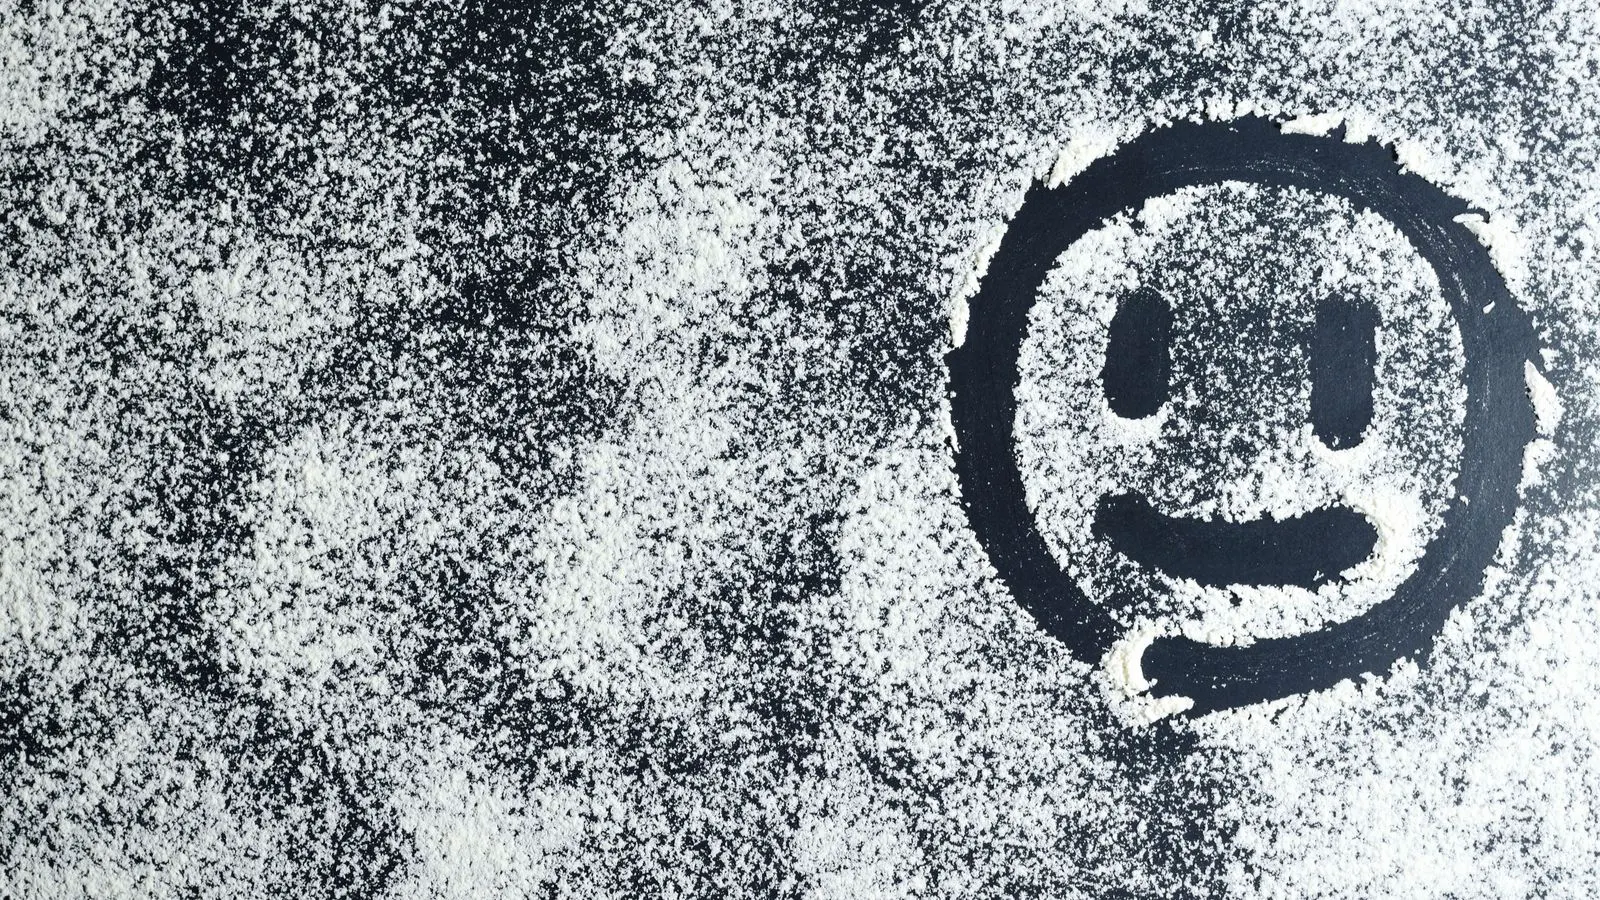
Chalking is a surface defect where the top layer of a powder coating breaks down and rubs off as a fine, white powder. It is one of the first visible signs of coating failure on exterior or high-traffic parts. When you rub the surface with a finger or a white cloth, the powder transfers. The underlying metal may still look intact, but the protective film is no longer continuous.
This defect is distinct from peeling or blistering. Blistering creates bubbles that pop open, exposing the substrate. Peeling is usually mechanical and involves a larger area detaching from the base. Chalking is a gradual degradation of the resin film itself. The powder remains in place until friction or weather removes it. This makes it a common early warning on outdoor brackets, signage, or automotive trim.
Common symptoms and likely causes
Before you start repairing a part, you need to identify what you are actually looking at. A white residue is not always chalking. It can be efflorescence, which is salt or mineral residue from the substrate, or it can be a curing defect that looks similar to early chalking. The table below lists the most frequent symptoms and how to distinguish the root cause.
| Symptom | Likely cause | What to do |
|---|---|---|
| White powder rubs off on a finger or cloth | UV degradation or poor resin formulation | Remove loose material, sand, and recoat with UV-stable resin |
| Chalking only on edges or thin sections | Inadequate cure or thin film thickness | Check cure temperature and increase build thickness |
| Chalking appears after a short period | Surface contamination or poor adhesion | Strip the old coat and re-clean with a degreaser |
| Chalking is patchy and localized | Physical abrasion or impact damage | Inspect for mechanical wear and recoat the affected area |
| White residue that does not rub off | Efflorescence from a porous substrate | Clean with a neutralizer and apply a primer |
The key diagnostic step is a rub test. Use a white lint-free cloth. If the material transfers, it is chalking. If it stays on the surface, it is likely efflorescence or a dry powder residue from an improper cure. Efflorescence is a substrate issue, while chalking is a resin issue. The repair paths differ.
How to remove chalking without damaging the substrate
Do not use aggressive chemical strippers on a small chalking area unless the entire coating is failing. Chemical strippers can etch the substrate and alter the base metal chemistry. For localized chalking, mechanical removal is usually the correct approach.
Start with a soft brush or a low-pressure air blast to remove loose powder. This prevents the powder from embedding into the surrounding finish during the next step. Follow with a fine abrasive pad or sanding paper. Use a grit size that will not round over the edges of the part. For flat panels, a flat sanding block keeps the surface uniform. For complex shapes, use a flexible pad.
Sand until the chalking is gone and the surrounding powder coating is dull. You do not need to strip the part to the bare metal if the remaining coating is sound. The goal is to create a clean, matte surface that the new powder will bond to. If the chalking is deep or the coating is delaminated, you must remove the old powder completely. This requires a chemical stripper or abrasive blasting.
After sanding or stripping, clean the part. Dust is the enemy of a powder coating adhesion. Wipe the surface with a solvent cleaner to remove oils and dust. The substrate must be dry. Any moisture under the new powder will cause blistering or poor cure.
How to recoat a chalked surface
Once the surface is prepped, you need a compatible powder coating. Do not mix systems. If the original part used a thermoset resin, use the same type. If you are unsure, check the original specification or the part’s coating data sheet. Mixing incompatible resins can cause poor adhesion or surface defects.
Apply the new powder with an electrostatic gun. Aim for a build thickness that matches the original specification. If you apply a thin coat, the chalking may return quickly because the UV exposure will degrade the new layer just as fast as the old one. If you apply a thick coat, you risk sagging on vertical surfaces or a longer cure time. Follow the manufacturer’s recommended thickness for the specific resin.
Cure the part in a conventional oven or a UV cure system. The temperature and time must match the resin datasheet. Undercuring is a major cause of chalking. If the resin does not crosslink fully, the film remains soft and weak. Overcuring can cause yellowing, but it is rarely the cause of chalking. Check the cure temperature with an infrared thermometer or a calibrated probe. Do not rely on the oven’s display alone.
After curing, inspect the part. Look for pinholes, orange peel, or a dull finish. A dull finish can be a sign of overcuring or a resin formulation issue. If the finish is smooth and the hardness is within the specification, the repair is complete.
Prevention strategies for powder coating chalking
Chalking is often preventable if you control the formulation and the environment. The most common mistake is using an interior grade powder on exterior parts. Interior resins are not designed to withstand UV radiation. They degrade quickly. For outdoor parts, use a UV-stable resin. These systems often contain titanium dioxide or other UV absorbers that help protect the film.
Surface preparation is the other major factor. A dirty substrate will not bond well to the powder. Grease, oil, and dust create a weak interface. Use a proper degreasing process. For high-quality parts, use a wash-off or vapor degrease. The surface must be clean to the specification before powdering.
Cure conditions matter as well. Undercured powder is soft and prone to chalking. Ensure the oven reaches the correct temperature and holds it for the full cure time. If the part is large or thick, heat may not penetrate to the core quickly enough. This can result in a soft center that fails later. Use a cure gauge or a crosslink test to verify the cure if the part is complex.
How to verify the repair is complete
A repair is not complete until the surface passes a durability test. You can do a simple adhesion test with a tape strip. Apply a strong adhesive tape to the cured surface and pull it off at a sharp angle. If the tape pulls off the powder, the adhesion is poor. If the tape stays and the powder remains, the bond is good.
For a more rigorous check, perform a rub test with a white cloth. If no powder transfers, the chalking is gone. If you are repairing a high-exposure part, consider a salt spray test or a UV exposure test to verify the new coating’s durability. These tests take time, but they confirm that the repair will hold up in the field.
Keep a record of the repair. Note the date, the type of powder used, the cure temperature, and the build thickness. If the part fails again, this data helps you identify the root cause. Was the resin wrong? Was the cure insufficient? Was the surface prep poor? Without a record, you are guessing. With a record, you can make a data-driven decision.
When to replace the part instead of repairing it
Not every chalking defect is worth repairing. If the chalking is widespread across the entire surface, the cost of repair may exceed the cost of a new part. If the substrate is already corroded, the repair will only be cosmetic. The metal is compromised, and the powder will not stop the corrosion.
Also consider the part’s function. If the part is a load-bearing bracket or a safety component, a repair that does not meet the original specification is a liability. In these cases, replace the part. For cosmetic parts, such as signage or trim, a local repair is usually acceptable.
Always consult the original specification. If the part has a coating specification, it may require a minimum thickness or a specific resin type. If the repair does not meet that specification, it is not a compliant repair. The part may fail inspection or cause a customer complaint later.
Frequently asked questions
Can I use a clear coat over chalking to hide it?
No. A clear coat will not stop the chalking underneath. The UV degradation will continue and the powder will still rub off. You must remove the loose material and recoat.
What grit of sandpaper should I use for chalking repair?
Use a fine grit, such as 220 or 320, for localized chalking. Avoid coarse grits that can round over edges or create deep scratches. The goal is a matte, clean surface, not a polished one.
How long does a powder coat repair take?
A small localized repair can take a few hours to a day. Prep, sanding, cleaning, powdering, and curing are the main steps. Complex parts or large areas may take longer due to cure times and inspection.
Will the new powder match the old color?
Matching the exact color can be difficult. Powder colors are mixed in batches, and slight variations can occur. For critical parts, order the powder from the original supplier or match the color code. For less visible areas, a close match is usually acceptable.
Is chalking a sign of substrate corrosion?
Not necessarily. Chalking is a resin failure. However, if the chalking is accompanied by rust, the substrate is corroding. In that case, remove the powder, treat the rust, and recoat. If the rust is extensive, replace the part.