Troubleshooting Poor Adhesion in Electroplating
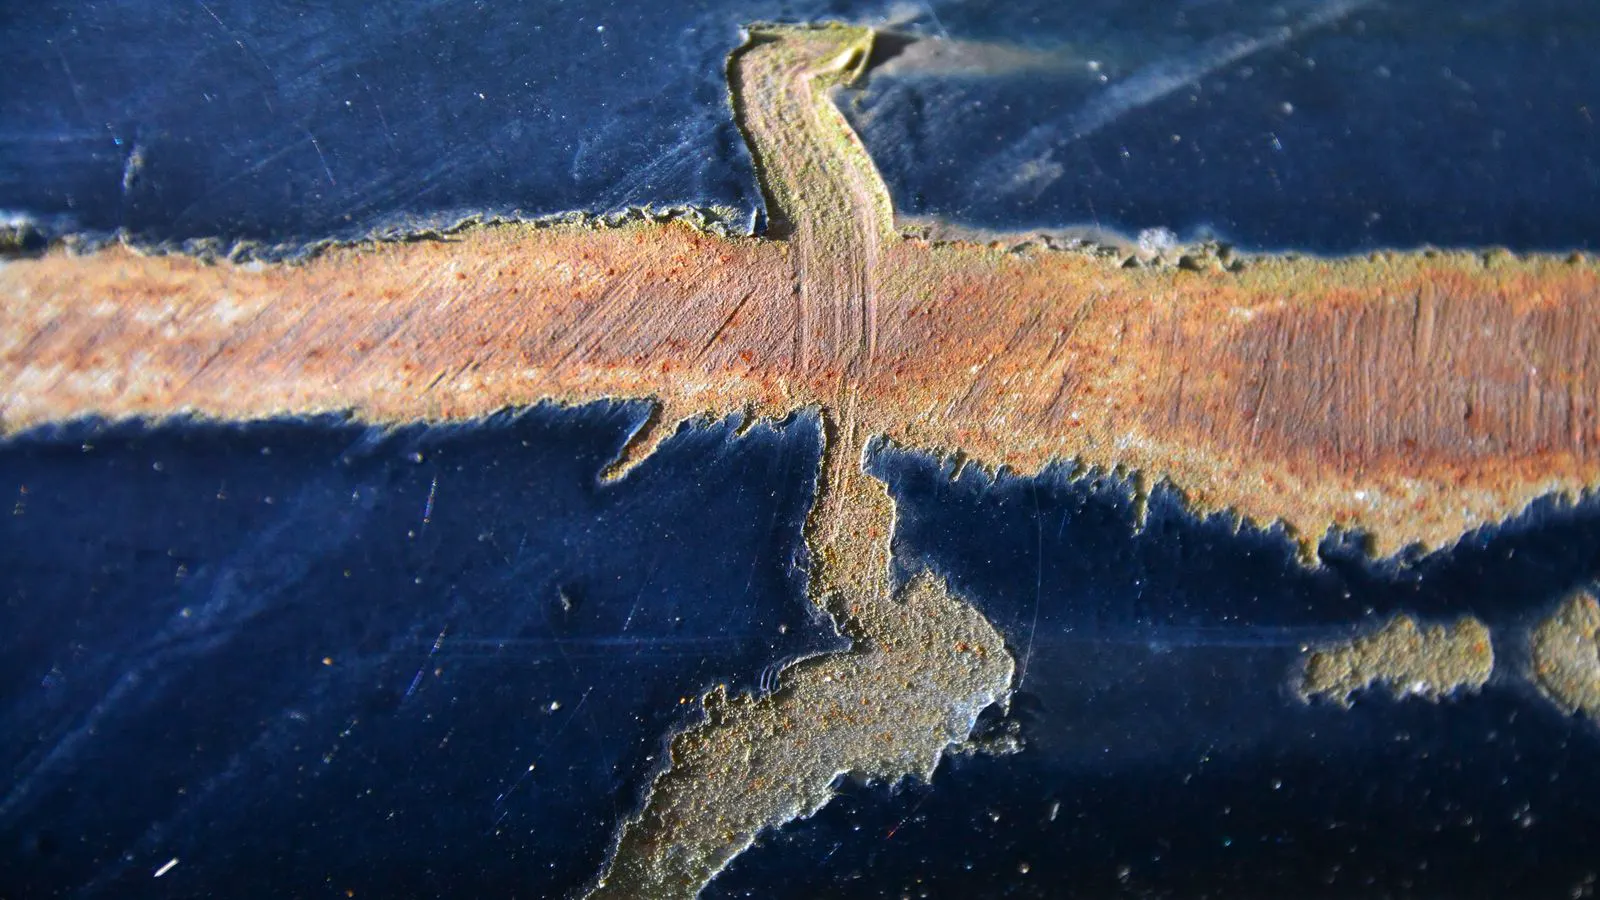
Poor adhesion in electroplating usually stems from contamination, poor surface prep, or plating bath imbalance. This guide lists common symptoms, likely causes, and fixes, then covers prevention and acceptance testing.
- Adhesion failure is most often caused by contamination or incomplete surface preparation before plating.
- Visual inspection, pull tests, and tape tests help identify detachment early.
- Cleaning, etching, and bath control reduce the risk of poor bonding.
- Documented acceptance criteria make quality issues easier to trace and fix.
What is electroplating adhesion failure and why does it matter
Electroplating adhesion failure is the loss of bond between a deposited metal coating and the base substrate. The coating may flake, peel, chip, or detach after handling, machining, or service. This is a core quality issue because the plating often exists to add wear resistance, corrosion resistance, or dimensional stability. When the coating does not stay on the part, the function is lost.
The problem is rarely a single event. It usually comes from a chain of small issues: oil, grease, fingerprints, oxide, old plating residue, or a bath that has drifted out of balance. A part that looks clean to the eye can still fail if the surface energy is wrong. That is why troubleshooting starts with the substrate and the steps before the anode is connected.
What symptoms point to adhesion problems
Before changing plating parameters, separate adhesion failure from other coating defects. Porosity, roughness, and burn are often visible, but adhesion issues show up in specific ways during inspection and use.
Common signs include:
- Flaking or peeling after light abrasion or handling.
- Chip edges that lift away from the base metal in a clean plane.
- Coating loss at corners, edges, or high stress areas.
- Failure only on certain parts, lots, or shifts.
- Detachment after machining, thermal cycling, or exposure to moisture.
If the coating fails on a uniform area, suspect contamination or bath chemistry. If it fails at edges or corners, suspect geometry, plating stress, or mechanical shock. If it fails only on some parts, suspect a process step that varies between batches.
Troubleshooting table: symptoms, causes, and fixes
The table below gives a practical starting point. It is not a substitute for a full root cause analysis, but it helps direct the investigation quickly.
| Symptom | Likely cause | What to do |
|---|---|---|
| Coating flakes after light sanding | Oil, grease, or fingerprints on substrate | Improve cleaning, add ultrasonic rinse, verify wipe-off and drying |
| Peeling in large flat areas | Incomplete etching or oxide not removed | Check etch concentration, time, and temperature; verify rinse quality |
| Failure at corners and edges | High internal stress or poor wetting in tight areas | Adjust plating current density, add stress reliever, review part geometry |
| Detachment after machining | Coating too thin or bond weakened by contamination | Increase coating thickness where required, recheck surface prep |
| Failure only on some lots | Inconsistent cleaning, plating bath drift, or operator variation | Review batch records, run a small test coupon from the suspect lot |
| Coating lifts after thermal cycling | Base metal and coating expand at different rates | Check plating thickness, substrate condition, and thermal exposure limits |
How to inspect adhesion without damaging the part
Adhesion testing is often where the diagnosis becomes concrete. There are two broad approaches: destructive and non-destructive. For routine shop use, tape tests are fast and cheap. For production acceptance, pull tests and cross-cut tests give more reliable data.
A basic tape test works like this. Clean a small area of the coating. Apply a strip of strong tape firmly. Peel it off at a controlled angle, usually close to 180 degrees. If the tape lifts a clean square of coating, the bond is weak. If the coating cracks but stays on the base metal, the issue may be brittleness rather than adhesion.
For more critical parts, a pull test applies force perpendicular to the surface until the coating separates. The result is usually reported as a force value. The key is consistency. Use the same probe, speed, and area every time. If the coating fails at the interface, adhesion is the problem. If it fails within the coating, the deposit itself is weak or poorly bonded to itself.
Cross-cut testing is useful when a full pull test is too aggressive. A grid of cuts is scored, and the coating is checked for lifting at the intersections. This method is common for acceptance criteria because it is repeatable and easy to document.
Common root causes in surface preparation
Most adhesion failures trace back to the steps before plating. The plating bath can only bond to a surface that is clean, active, and properly conditioned.
The main preparation issues are:
- Contamination. Oils, coolants, fingerprints, and release agents create a barrier between the plating and the metal.
- Oxide and scale. A thin oxide layer can reduce contact and create weak points.
- Incorrect etching. Too little etching leaves the surface passive. Too much etching can roughen the surface and introduce defects.
- Poor rinsing. Residual salts, acids, or cleaning agents can contaminate the next step.
- Inconsistent drying. Water spots or residues from incomplete drying can create localized adhesion problems.
For aluminum, the anodizing and strike steps matter even more. An incomplete strike or an anodizing film that is not properly converted can make the plating reject. For steel and stainless, phosphating, chromate treatment, or similar conversion coatings can change how the plating bonds. If a part used to plate well and now fails, check whether the surface prep chemistry changed.
Common root causes in the plating bath
When the substrate is clean and the prep is correct, the plating bath itself may be the problem.
- Bath drift. Concentrations of main plating metal, acids or alkalis, and additives can shift over time.
- Insufficient agitation. Poor circulation creates uneven coverage and weak spots.
- Wrong current density. Too high a rate can cause stress, burn, or rough deposits. Too low a rate can cause thin, porous, or poorly bonded layers.
- Temperature out of range. Some baths are very sensitive to heat.
- Additive depletion or contamination. Brighteners, levelers, and inhibitors can degrade or be contaminated.
A plating line can produce parts that look good on the surface and still fail in service. That is why routine bath analysis and test coupons are part of a stable process. If adhesion failures start appearing, run a coupon through the same bath at the same settings and inspect it under magnification.
What to do when adhesion failure appears in production
Start with containment. Pull affected parts from inventory if possible. Do not ship parts that have not passed the required adhesion check. Then work backward.
- Identify the affected lot or batch.
- Check the cleaning records for that lot.
- Review the plating bath logs for time, temperature, and chemistry.
- Inspect a sample under magnification for contamination, porosity, or edge defects.
- Run a tape or pull test on a known good part and a suspect part.
- Compare the results against your acceptance criteria.
If the problem is contamination, fix the cleaning step first. If the problem is bath drift, adjust chemistry and revalidate. If the problem is geometry or stress, review part design and plating parameters. Do not change multiple variables at once. Change one, test, and document.
Prevention tips for stable adhesion
Prevention is cheaper than rework. A few habits keep adhesion failures out of production.
- Use a written surface prep procedure. Clean, rinse, etch, and dry in a fixed order.
- Keep cleaning media separate from plating areas. Coolant, oil, and release agents are common trouble sources.
- Monitor the plating bath on a schedule. Record pH, concentration, temperature, and additive levels.
- Run a test coupon with each major production run. Store the coupon with the lot.
- Define clear finish acceptance criteria. Include visual checks, adhesion checks, and thickness where required.
- Train operators on what good looks like. A part that looks clean can still fail if the surface is not active.
- Review changes. If a supplier changes a cleaning agent, a part material, or a plating additive, run a small trial before full production.
How to set finish acceptance criteria
Acceptance criteria are what turn a plating defect into a measurable quality decision. Without them, inspection becomes subjective. With them, you can compare parts, batches, and suppliers.
A practical set of acceptance criteria includes:
- Visual inspection at 3x or 5x magnification for flaking, blistering, and edge lift.
- Tape test or cross-cut test for adhesion.
- Pull test for high value or safety related parts.
- Coating thickness at defined locations.
- Salt spray or other corrosion exposure where the coating is meant to resist corrosion.
The criteria should match the service. A decorative plating on a small tool may need a light tape check. A plating on a medical or structural part may need pull testing and documented lot traceability. If you use a salt spray test on coated samples, make sure the test follows the same cleaning and preparation method you use for the final parts. The result is only meaningful if the sample represents the finished part.
When to call a plating engineer or supplier
Some adhesion problems are easy to fix at the line. Others need outside help. Call for support when:
- The failure is repeatable but the cause is not obvious.
- Multiple processes are involved, such as anodizing, plating, and heat treatment.
- The part material is unusual or the plating specification is tight.
- The failure appears after a change in material, cleaning agent, or plating bath.
Bring records. Lot numbers, bath logs, cleaning logs, and test results make the problem easier to diagnose. The faster you can isolate the variable, the faster the fix.
Quick checklist before plating
Before starting a plating run, walk through this short checklist:
- Part is clean and free of visible contamination.
- Cleaning and rinse water are clean and at the right temperature.
- Etch or conversion coating is at the correct concentration and time.
- Rinse water is clean.
- Plating bath chemistry is within range.
- Agitation is normal.
- Current density and voltage match the job setup.
- A test coupon is in the bath.
- Operator knows the acceptance criteria for the lot.
If you can answer yes to all of these, the chance of a clean, well bonded coating goes up. If you cannot, stop and fix the issue before the next part enters the bath.
How to document the fix
A fix that is not documented will happen again. After you solve an adhesion problem, write down what changed. Include the date, lot, symptom, test result, root cause, and the action taken. This record helps the next shift, the next engineer, and the next audit.
Keep a simple log:
- Date and lot.
- Symptom observed.
- Test used and result.
- Root cause.
- Corrective action.
- Verification result.
Over time, this log becomes a map of your process. It shows which steps are stable and which need more attention. It also helps when a supplier changes a product or a new operator joins the line.
Final point on adhesion
Adhesion is the first thing a coating must do. Everything else, thickness, color, corrosion resistance, and wear life, depends on the coating staying put. When electroplating adhesion failure appears, treat it as a process problem, not a random defect. Check the substrate, check the bath, check the records, and test the result. Do it in order, and the problem usually becomes manageable.
Frequently asked questions
Can a plating part pass a visual check and still fail adhesion?
Yes. A coating can look smooth and even while the bond is weak. Contamination, oxide, or bath drift can create a weak interface that only shows up after stress, heat, or mechanical testing.
What is the fastest adhesion check for a shop?
A tape test is the fastest. Apply a strong tape to a clean area, peel at a controlled angle, and see if the coating lifts. It is not as precise as a pull test, but it is useful for quick checks.
Should I use the same cleaning method for every part?
No. Different alloys, coatings, and contaminants require different prep. Aluminum, steel, stainless, and plated surfaces all need different treatment. Use the method that matches the part and verify it with test coupons.
What if adhesion failure starts only after a supplier change?
Stop the affected lot and run a test coupon. Compare the new material or chemical to the previous one. Change one variable at a time and document the result before returning to full production.
How thick should the coating be to avoid adhesion problems?
Thickness alone does not guarantee adhesion. A thin coating can fail if the bond is weak. A thick coating can fail if the base is contaminated. Set thickness based on the specification and test adhesion separately.