How to Test Passivation Quality with Visual Inspection
Visual inspection of passivated surfaces involves checking for uniform color, absence of rust, and clean metal. Use a light source, magnifier, and standardized lighting to detect contamination or film failure.
- Use a consistent light source and viewing angle to compare the passivated surface against a known reference.
- Check for uniform color and absence of rust or contamination to verify film formation.
- Use a magnifier to detect surface pitting or residue that indicates poor passivation.
- Record findings with photos and notes to support quality documentation and traceability.
Why Visual Inspection Works for Passivation
Passivation forms a thin oxide layer on stainless steel that resists corrosion. A well-formed film appears as a uniform, matte surface. It does not shine like polished metal, and it does not show rust or dark spots.
Visual inspection is the first line of defense. It catches obvious failures before parts move to the next stage. It works for brackets, valves, and structural plates. It does not replace lab testing, but it gives you a practical check on the job.
The method relies on controlled lighting and a trained eye. You need a bright, steady light source and a clean area to work. Avoid direct sunlight, which creates glare. Use a diffused white light instead.
What You Need Before You Start
Prepare your workspace before touching the part. Keep the area free of dust and oil. Wipe your hands with nitrile gloves. Skin oils leave fingerprints that look like contamination.
You need three main tools. A bright, diffused light source is the most important. A 10x or 20x magnifier helps see small details. A clean reference sample of properly passivated steel gives you a standard to compare against.
If the part has no visible reference, take a photo of a known good sample. Save it on your phone. Use that image when checking new parts. This keeps your judgment consistent over time.
Step 1: Clean the Surface First
Wipe the part with a lint-free cloth. Use a light touch. Do not scrub. You want to remove handling oils, not scratch the film.
If the part has grease or water spots, clean it with a mild, non-abrasive cleaner. Rinse with clean water and dry immediately. A wet surface distorts the color of the film.
Why this step matters: Oil and water create false readings. A dark spot might be a drop of moisture, not rust. Cleaning removes these variables. It gives you a clear baseline.
Step 2: Check for Uniform Color
Hold the part under the diffused light. Look at the entire surface. The passivation film should look even. It may appear slightly gray or silver, depending on the steel grade.
Compare the part to your reference sample. The color should match. If you see patches of bright white or dark gray, the film is uneven. This suggests the chemical bath was not applied evenly.
Why this step matters: Uniform color indicates a consistent film thickness. Uneven color points to process issues. It tells you the passivation step may have failed in some areas.
Step 3: Look for Rust or Discoloration
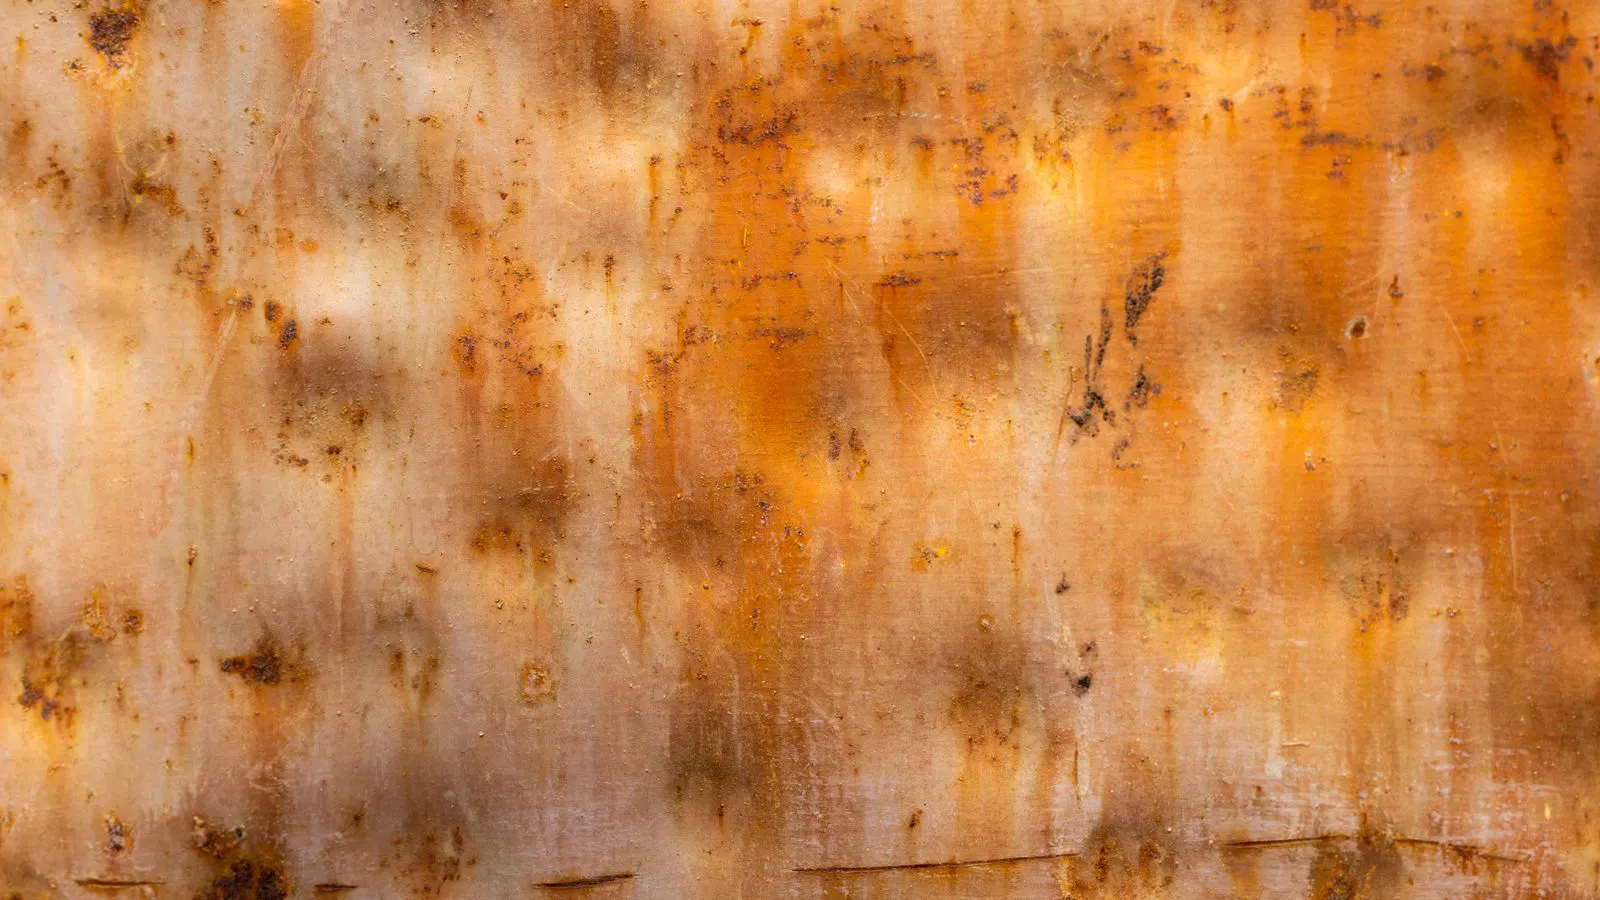
Scan the surface for red, brown, or black spots. Rust is the clearest sign of failure. Even a small red dot means the film is not protecting that area.
Check edges and corners. These areas hold contaminants. A dark spot on an edge might be trapped dirt, not rust. Wipe it gently with a clean cloth. If it wipes away, it is contamination. If it stays, it is likely rust.
Why this step matters: Rust breaks the passivation film. It creates a weak point where corrosion can spread. Catching it early prevents larger damage.
Step 4: Use the Magnifier for Detail
Place the magnifier over the surface. Look for pitting. Pitting appears as tiny, dark holes. It looks like a rough texture.
Check the area around welds. Welds often have heat-affected zones. These areas are more prone to pitting. If you see pitting, the passivation failed to remove the oxide layer properly.
Why this step matters: The human eye misses small pitting. A magnifier reveals it. Pitting is a corrosion trap. It needs to be addressed before the part ships.
Step 5: Check for Residue or Film Buildup
Look for white or chalky residue. This often comes from the passivation chemical. It should be rinsed off. If you see residue, the rinsing step was incomplete.
Residue can look like a thin, dusty layer. It dulls the surface. It may also hide small defects underneath. Wipe a small area with a clean cloth. If the residue wipes away, it is surface contamination.
Why this step matters: Residue can interfere with the film. It may also trap moisture. This creates corrosion points later. Clean parts are reliable parts.
Step 6: Verify with a Second Light Source
Move the part to a different angle. Use the same light source, but change the direction. This reveals hidden defects.
Look for shadows. A pitted area will cast a tiny shadow. A raised residue spot will also cast a shadow. This second angle catches what the first missed.
Why this step matters: Light angle changes how the surface looks. A defect that is flat from one angle may pop out from another. This step improves detection accuracy.
Step 7: Record Your Findings
Write down what you see. Note the location. Use a simple scale. For example, “light rust on edge, 2mm.” Take a photo. Save it with the part number.
Keep a log. This log helps you track quality over time. If you see the same issue on multiple parts, the process is failing. The log gives you data to fix the problem.
Why this step matters: Memory fades. A record is proof. It supports quality decisions. It helps you identify patterns. Patterns lead to process improvements.
Common Mistakes to Avoid
- Using direct sunlight: Sunlight is too bright and creates glare. It hides defects.
- Skipping the clean-up: Oils and dust give false readings. Always clean first.
- Judging by touch: The film is thin. Touching it damages it. Use your eyes, not your hands.
- Ignoring the reference: Without a known good sample, your judgment drifts. Always compare.
Final Verification Step
After you finish your visual check, do one last thing. Put the part back in its packaging. Check the label. Confirm the part number matches your log.
This step is simple. It prevents mix-ups. It ensures the right record goes with the right part. It is the final gate before the part moves on.
If you pass all the checks, the part is good. If you find a defect, quarantine it. Do not mix it with good parts. Tag it for rework or rejection.
Visual inspection is a skill. It takes practice. Start with the steps above. Build your eye. Over time, you will spot issues quickly. You will catch problems before they become expensive.
How to Interpret What You See
| Defect | Appearance | Likely Cause |
|---|---|---|
| Rust | Red or brown spots | Contamination or poor rinse |
| Pitting | Tiny dark holes | Weld heat or chemical damage |
| Residue | White chalky layer | Incomplete rinsing |
| Uneven color | Patchy gray or silver | Inconsistent chemical bath |
| Scratches | Bright linear marks | Handling damage before passivation |
Use this table to guide your notes. It keeps your records clear. It helps you communicate findings to the production team.
When to Send a Part for Lab Testing
Visual inspection is not enough for critical applications. If the part goes to a marine or medical environment, send a sample for lab testing. The lab can measure film thickness and run corrosion tests.
Your visual check tells you if the part is likely good. The lab test confirms it. Use both. They work together.
Do not skip the lab test for high-risk parts. A visual check can miss a thin spot. A lab test finds it. Protect your customer. Protect your reputation.
Final Thoughts
Passivation quality starts with the eyes. A clean surface, good light, and a steady hand get you far. Use the steps above. Keep your records. Fix the process when you see patterns.
Your parts are only as good as the checks you run. Make those checks count. Keep them simple. Keep them consistent. That is how you build trust.
Frequently asked questions
Can I use a phone camera to check for rust?
Yes, but use a bright light and a zoom lens. The camera can show details the eye misses. Always compare the photo to a known good sample.
What if the part is dark gray?
Some stainless grades passivate to a darker color. Check your reference sample. If it matches the reference, it is likely correct. If it differs, re-check.
How often should I re-check a part?
Check every part during final inspection. If you see defects, check the next batch more closely. Adjust based on your quality records.
Can I passivate a part that has rust?
No. Rust must be removed first. Use a mechanical method or a specific rust remover. Then re-passivate. Do not apply the film over rust.
What if the light source is too dim?
Dim light hides defects. Use a brighter, diffused light. If you need more light, add a second source. Do not use direct sunlight.