Fixing Passivation Failure on Stainless Steel Parts
Passivation failure usually stems from surface contamination, incorrect chemistry, or inadequate cleaning. This guide lists common symptoms, likely causes, and specific fixes to restore the passive film and prevent corrosion on stainless steel parts.
- Passivation failure is most often caused by surface contamination or incorrect bath chemistry.
- Always verify cleaning before passivation, as the film only forms on clean metal.
- Use visual inspection, conductivity checks, or salt spray tests to confirm film quality.
- Document bath composition and cleaning steps to catch problems early.
- Prevention relies on consistent cleaning, stable chemistry, and proper handling of parts.
Why passivation fails on stainless steel
Passivation failure means the stainless steel part did not develop a stable passive film after treatment. Without that film, the metal is far more vulnerable to rust and general corrosion. This is a common problem on components that have been machined, welded, or handled during assembly.
The failure is usually not a mystery. It is almost always tied to one or two things. The part was not clean enough before treatment. The passivating solution was out of balance. The part was not exposed to the chemistry long enough. Or the part was contaminated after treatment and before storage.
Understanding these points helps you stop wasting time on parts that will fail in the field. It also helps you avoid rework, scrap, and customer complaints. This guide breaks down the most common symptoms, the likely causes behind them, and the practical fixes that work.
Common symptoms of passivation failure
Before you change anything, look at what the part actually looks like and how it behaves. The symptoms below are what most shops see when passivation is not forming properly.
| Symptom | Likely cause | What to do |
|---|---|---|
| White or gray residue on the surface | Excess salt or mineral deposit from the bath | Rinse thoroughly with deionized water and re-clean the part |
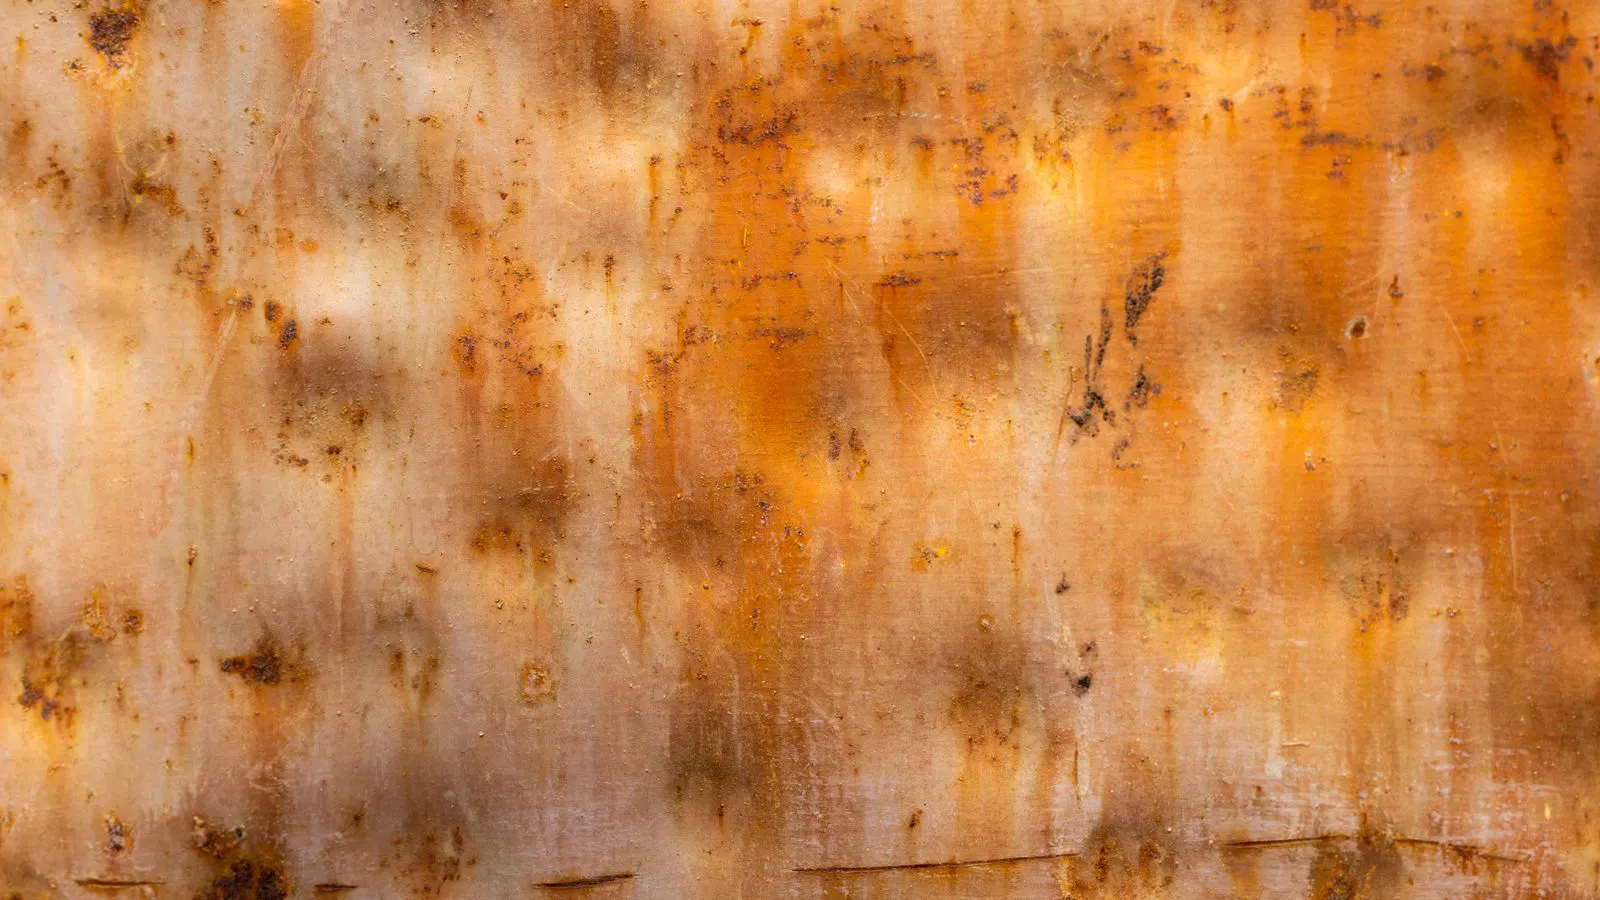
| Rust spots or brown staining | Surface contamination, low bath strength, or insufficient exposure time | Remove contamination, check bath chemistry, and re-passivate |
| Uneven film appearance | Inconsistent cleaning, poor bath agitation, or uneven part geometry | Improve cleaning, ensure consistent agitation, and adjust part orientation |
| Parts rust within hours or days of treatment | Weak or unstable passive film | Verify bath concentration, temperature, and contact time |
| Passivation appears to work but fails in salt spray testing | Insufficient film thickness or hidden contamination | Check cleaning, bath balance, and post-rinse water quality |
These symptoms are your first diagnostic tool. If you see rust spots, do not just rinse and ship. Find out why they formed. If the film is uneven, look at the cleaning and agitation. If the part looks clean but fails in testing, the problem may be in the bath chemistry or the water used for the final rinse.
Cleaning: the most common root cause
The single most frequent cause of passivation failure is poor cleaning before treatment. The passive film can only form on a surface that is free of oil, grease, machining swarf, hand oils, and other contaminants. If those materials are present, the chemistry cannot reach the metal.
Machined parts often carry cutting oil or coolant residue. Welded parts may have spatter, slag, or oxidation from the heat. Handled parts pick up skin oils quickly. All of these create a barrier. The passivating agent may look like it is working, but it is only sitting on top of the contamination.
The fix is a proper cleaning step before passivation. This usually means an alkaline or solvent-based degrease, followed by a rinse. For high-mix or heavily contaminated parts, a two-step clean may be needed. Solvent first to remove oil, then alkaline or acid to remove particulates and oxidation.
Do not skip the rinse. If you move from cleaning directly into passivation without rinsing, cleaning residue can carry over and foul the bath. For parts that will be stored or shipped, a final rinse with deionized water is often required. Tap water can introduce minerals that leave deposits or cause spotting.
Bath chemistry and exposure time
If the part is clean, the next thing to check is the passivating solution itself. Passivation baths are usually acidic. Common formulations include nitric acid or citric acid based systems. The concentration, temperature, and contact time all matter.
If the acid concentration is too low, the film may be thin and unstable. If it is too high, the part may over-passivate, which can make it more vulnerable to pitting in some environments. Temperature is also a factor. Too cold, and the reaction is slow. Too hot, and the chemistry can become unstable or evaporate too quickly.
Exposure time is another common mistake. Parts that are too small may need less time. Large or heavily machined parts may need more. If you are using the same time for every part, you are likely over-passivating some and under-passivating others.
Check the bath regularly. Do not rely on a single batch to last indefinitely. Batches degrade over time. Contamination from cleaning, handling, and ambient dust all affect the solution. Keep records of when the bath was set up, what was added, and when it was last tested. If you see a change in appearance or smell, test the bath.
Surface condition and part geometry
The condition of the metal surface affects how well the film forms. Machined surfaces with deep tool marks, weld spatter, or sharp edges can hold contaminants. These areas are also where rust often starts. If a part has a rough weld bead, the oxide scale from welding may be too thick for the passivating acid to penetrate.
Geometry matters too. Small parts may be fully submerged easily. Large assemblies may have pockets where the solution does not circulate. If parts are stacked or touching, the areas of contact may be under-exposed. Agitation helps, but it is not a substitute for proper part placement.
For complex parts, consider whether they need a pre-treatment. A light abrasive step or a pickling bath may be needed to remove heavy oxidation before passivation. For welded parts, a weld cleaning step is often required. This is not a separate passivation step, but it is a necessary preparation step.
Also check the finish. A polished surface will passivate differently than a ground or machined surface. The same bath may work well on one finish and poorly on another. If you are changing the manufacturing process or the surface finish, revalidate your passivation parameters.
Water quality and final rinse
Many passivation failures are not about the acid at all. They are about the water. If the final rinse uses tap water with high mineral content, you can leave deposits on the part. These deposits can trap moisture and create localized corrosion.
Deionized water is the standard for final rinses on stainless steel parts. It is not always available, and it is not always necessary for every application. But for parts that will be stored, shipped, or exposed to harsh environments, it is worth the cost.
Check the water quality before the rinse. If the water has high total dissolved solids, consider a treatment step or a switch to a different source. For high-volume production, a water quality test is part of the process. Do not assume the water is clean just because it looks clear.
Post-passivation handling and storage
Even a well-passivated part can fail if it is handled poorly after treatment. Skin oils from gloves or hands can re-contaminate the surface. Dust and dirt from the shop floor can settle on the part. Moisture can cause flashing or spotting.
Use clean gloves when handling parts after passivation. Avoid bare hands. If parts will be stored, store them in a dry area. Use packaging that does not introduce acids or chlorides. Some plastics and rubber components can off-gas or leave residues that attack the passive film.
Do not store parts in direct contact with other metals. Dissimilar metal contact can create galvanic cells. Keep stainless steel parts separated from carbon steel, copper, or other reactive metals. Use spacers or individual packaging if necessary.
If parts are to be shipped, consider a light oil or protective film if they will be exposed to moisture during transport. This is not a substitute for passivation, but it can protect the film during logistics.
Prevention: building a reliable process
Prevention is cheaper than rework. The best way to avoid passivation failure is to build a process that is repeatable and documented.
- Standardize your cleaning step. Use the same degrease, the same rinse water, and the same contact times.
- Test the passivation bath regularly. Check concentration, pH, and temperature. Keep a log.
- Verify part geometry and orientation. Ensure all surfaces are exposed.
- Use deionized water for the final rinse, especially for critical parts.
- Handle parts with clean gloves and store them in a controlled environment.
- Perform periodic quality checks. Use visual inspection, conductivity tests, or salt spray tests to confirm the film is holding.
Do not treat passivation as a one-time step. It is part of a sequence. Cleaning, passivation, rinsing, handling, and storage all interact. If one step is weak, the whole process is weak.
If you are seeing intermittent failures, look at the process history. When did the problem start? Did you change cleaning chemicals? Did the water source change? Did the bath age out? These are the questions that lead to the fix.
When to re-passivate
Sometimes the part is simply not good enough to ship. If you see rust spots, uneven film, or contamination, re-passivate the part. Do not try to ship it and hope for the best.
Re-passivation follows the same steps as the original. Clean the part, strip any contamination, and run it through the bath again. For parts with heavy contamination, a more aggressive clean may be needed. For parts with rust, you may need to remove the rust before re-passivating.
If the same part fails twice, the problem is not in the passivation step. It is in the cleaning, the handling, or the storage. Stop and find the root cause.
Testing passivation quality
You can tell a lot by looking at the part. A good passive film is clear, even, and free of deposits. But visual inspection is not enough for critical applications.
Conductivity testing can give a quick check. A good passive film has low ionic conductivity. If the reading is high, the film is likely not stable. Salt spray testing is the gold standard for corrosion resistance. It is time-consuming, but it gives you real data.
Use the right test for the application. A part for a consumer appliance may need only a visual check and a light salt spray test. A part for a marine or chemical environment may need more rigorous testing. Match the test to the risk.
Document the results. If a batch passes, note the bath conditions. If a batch fails, note the conditions. This data helps you catch problems before they become customer complaints.
Final checks before shipping
Before parts leave the shop, run a final check. Look for contamination. Check the rinse. Verify the storage conditions. Make sure the packaging is clean and dry.
Do not rush the final rinse. A quick rinse with tap water can undo hours of good work. If you have deionized water, use it. If you do not, consider whether the application can tolerate the mineral content.
A passivated part is only as good as the last step you take with it. Treat the handling and storage with the same care as the acid bath.
Troubleshooting checklist
Use this checklist when passivation failure occurs.
- Check the part for visible contamination or rust.
- Verify the cleaning step. Was the degrease used? Was the rinse adequate?
- Check the bath chemistry. Is the concentration correct? Is the pH in range?
- Check the exposure time. Was it sufficient for the part size and geometry?
- Check the water quality for the final rinse.
- Review handling and storage. Were gloves used? Was the part stored dry?
- Run a quality test if the application requires it.
This checklist will catch most problems. If the part still fails, escalate the investigation. Look at the process history, the water source, and the part material.
Passivation failure is not a dead end. It is a signal. The part is telling you that something in the process is not working. Listen to it, find the cause, and fix it. The next batch will be better.
Frequently asked questions
Can I passivate a part that already has rust on it?
No. Rust must be removed before passivation. The passive film cannot form over existing corrosion. Clean and remove the rust first, then passivate.
How often should I check my passivation bath?
Check the bath regularly. At minimum, test the concentration and pH on a schedule that matches your production volume. If you see changes in appearance or smell, test immediately.
Is deionized water always required for the final rinse?
It is not always required, but it is strongly recommended for critical parts. Tap water can introduce minerals that cause spotting or deposits. For high-risk applications, use deionized water.
Can passivation fail if the part is too clean?
No. Over-cleaning is not a problem. The film forms best on a clean surface. If the part is too clean, it will passivate better, not worse.
How do I know if passivation is working?
Look for a clear, even surface with no deposits or rust. For critical parts, use conductivity testing or salt spray testing to confirm the film is stable.