Checklist: Verifying Passivation on Imported Stainless Steel

Use a structured incoming inspection protocol to confirm passivation quality on imported stainless steel. Check for visual defects, record test results, review documentation, and verify corrosion resistance before releasing parts into production.
- Verify passivation through a combination of visual checks, chemical testing, and documentation review.
- Red flags include visible rust, pitting, non-uniform color, and missing or inconsistent test records.
- Incoming inspection should be standardized to reduce variability between suppliers and shipments.
- Keep passivation certificates and lot numbers traceable to specific parts for future quality control.
Why Passivation Verification Matters on Incoming Parts
Passivation forms a chromium-rich oxide layer that improves the corrosion resistance of stainless steel. On imported parts, the finish may be applied in a different facility, under different conditions, and with different methods. A receiving engineer cannot assume the passivation is uniform or effective unless the parts are checked.
The risk is not that the steel is weak. It is that the surface is unprotected. A thin film of rust or pitting can start from a single defect and spread during storage, handling, or in service. Incoming inspection is the control point where this risk is caught before parts are assembled, shipped, or installed.
This checklist is designed for a receiving team that handles imported stainless steel components, fasteners, brackets, and other parts. It assumes the supplier claims the parts are passivated. It does not assume the claim is true. The protocol below gives the team a repeatable way to verify passivation quality.
Pre-Receiving Checks: Confirming What You Expect
Before parts arrive, the receiving team should have a clear expectation of what passivation should look like and what documentation should accompany it. Without that baseline, inspection becomes a guess.
- Confirm the supplier’s passivation method. Common methods include citric acid, nitric acid, and peracetic acid. The method affects the appearance of the finished surface and the type of residue that may be left behind.
- Confirm the expected surface condition. Is the part polished, brushed, ground, or bead-blasted? Passivation should not alter the intended surface finish.
- Confirm the expected certificate data. A passivation certificate should include the supplier name, date, lot or heat number, acid concentration, temperature, exposure time, and final rinse method.
- Confirm the acceptance criteria. Define what counts as pass. For example, no visible rust, no pitting, no white residue, and a documented test result.
If any of these items are missing, the inspection is not ready to start. The parts should be held in a quarantine area until the documentation is received. This step prevents the common mistake of inspecting parts against an undefined standard.
Visual Inspection: What the Surface Should Show
The first check is visual. Passivation is not supposed to leave a colored film, a waxy residue, or a pattern of defects. The surface should look clean, dry, and consistent with the intended finish.
- Uniform appearance. The oxide layer is invisible. The steel should look like clean stainless steel. If the surface looks dull, gray, or uneven, check for acid residue or improper rinsing.
- No rust or discoloration. Reddish or brownish spots indicate iron oxide. This is a red flag. Even a small rust spot can mean the part was not passivated or the passivation was not effective.
- No pitting. Pitting is small, localized corrosion. It is a red flag. Pitting can appear as tiny dark or white specks in the surface. Look closely under good lighting.
- No white residue. White film can be calcium carbonate from hard water, salt from a brine solution, or a reaction product. It is a red flag if it is not expected for the specific process.
- No scratches or handling damage. Deep scratches can expose the base metal. If the scratch is deep enough to rust, it undermines the passivation.
Use a magnifier or a low-power microscope for critical parts. A defect that is invisible to the naked eye can still cause corrosion in service. The inspection area should have a light source that reduces shadows. A shadowed surface hides pitting and residue.
Chemical and Surface Checks: Confirming the Oxide Layer
Visual checks are necessary but not sufficient. Some defects are not visible until the surface is tested. Chemical checks confirm that the oxide layer is present and functioning.
The most common check is the citric acid spot test. A drop of dilute citric acid is applied to the surface. If the part is properly passivated, the acid should not react. If the oxide layer is thin or absent, the acid can cause a brief reaction, leaving a wet spot or a faint discoloration.
- Citric acid spot test. Apply a drop to an inconspicuous area. Wait a few seconds. Wipe clean. Look for a reaction. A proper passivation should show no visible change.
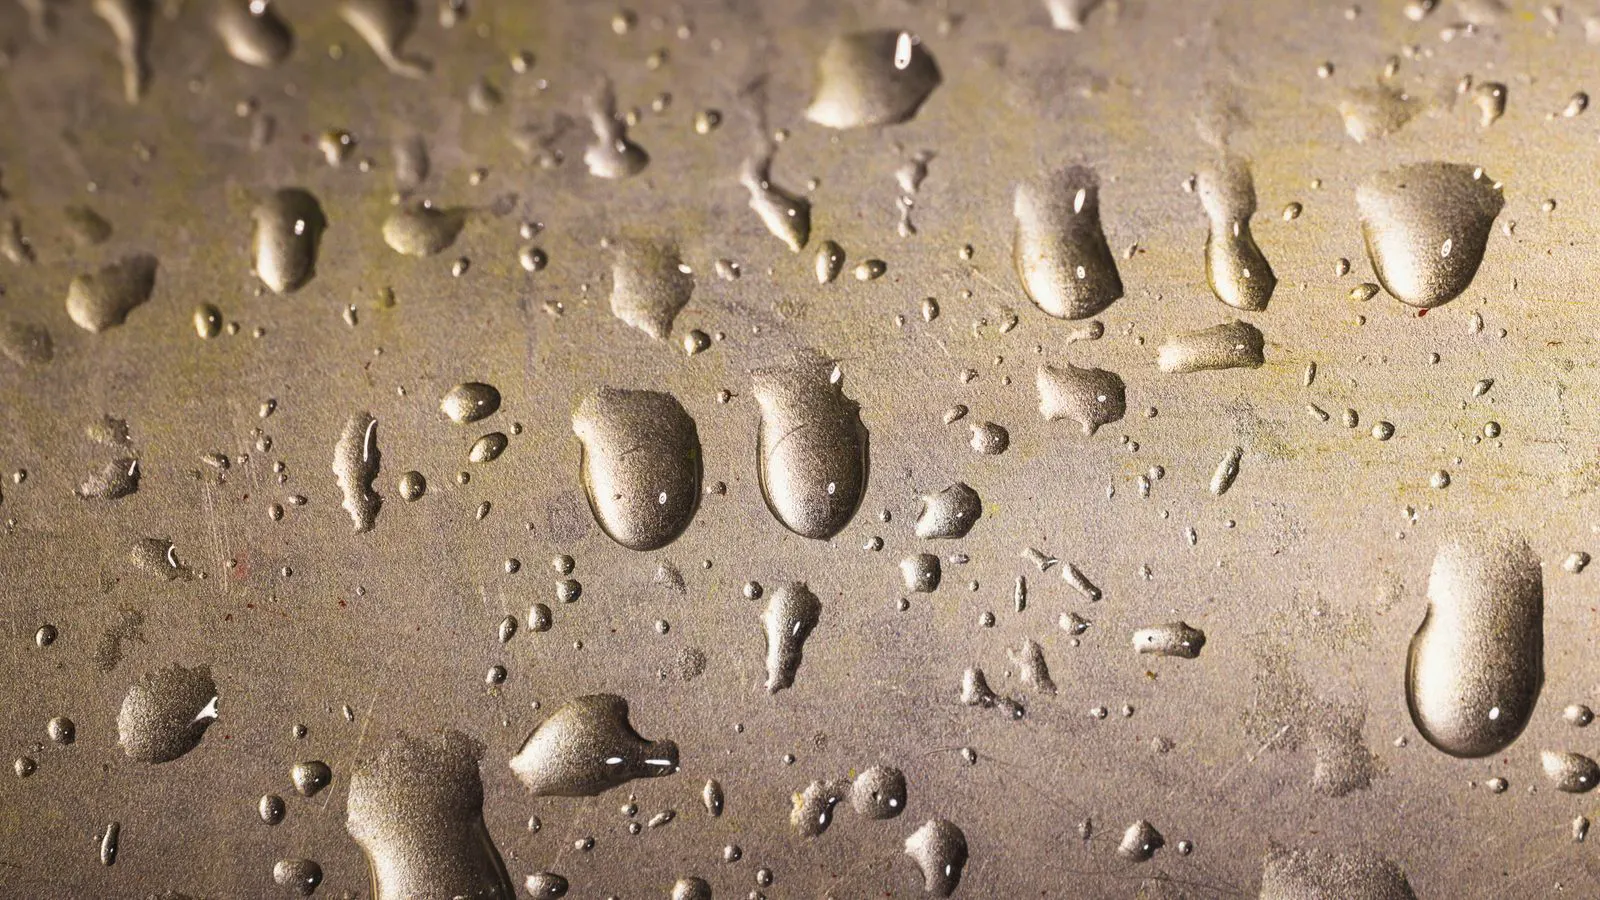
- Water drop test. Place a drop of deionized water on the surface. Let it sit. If the part is passivated, the water should bead or stay clean. If the oxide layer is weak, rust may form at the drop site.
- Salt spray test. For high-reliability applications, a short salt spray exposure can be used as an incoming check. This is more aggressive and takes longer, but it can reveal defects that spot tests miss.
The citric acid test is quick and inexpensive. It is not a full corrosion test. It is a screening check. If the result is inconclusive, move to the water drop test. If the part is critical, move to a salt spray test.
Do not use the same test on every part without a reason. A spot test on a polished bracket is different from a spot test on a ground surface. The surface condition affects the result. Record the surface condition with the test result.
Documentation Review: Matching Parts to Certificates
Documentation is part of the inspection. A passivation certificate is not a formality. It is the record that links the process to the part. Without it, the team cannot verify that the process was applied correctly.
- Supplier name and date. The certificate should match the supplier and the shipment date.
- Lot or heat number. The lot number on the certificate should match the lot number on the part or on the packing list.
- Process parameters. The acid type, concentration, temperature, and exposure time should be listed. If the parameters are missing, the certificate is incomplete.
- Rinse method. The certificate should state that the parts were rinsed with deionized water or another specified fluid.
- Sign-off. An authorized person should have signed the certificate.
If the lot number does not match the part, the certificate does not apply. Hold the part. Do not release it until the supplier confirms the correct lot. This is a common red flag in imported shipments, where parts from different lots are mixed in one pallet.
Red Flags: When to Reject or Hold Parts
Not every defect requires rejection. Some defects require rework, reinspection, or a hold. The decision depends on the severity and the application.
| Red Flag | Likely Cause | Typical Action |
|---|---|---|
| Visible rust | Inadequate passivation, handling damage, or storage in humid conditions | Reject or rework with approval |
| Pitting | Localized corrosion, acid contamination, or poor rinsing | Reject or rework with approval |
| White residue | Hard water, salt, or process by-product | Clean and reinspect |
| Missing certificate | Documentation error or supplier non-conformance | Hold and contact supplier |
| Lot number mismatch | Mixed lots or incorrect labeling | Hold and verify with supplier |
| Uneven surface finish | Inconsistent passivation or mechanical damage | Reject or rework with approval |
A red flag is a signal to stop and investigate. It is not a signal to guess. The receiving engineer should not make a final decision alone. Escalate to quality and procurement.
Incoming Inspection Protocol: A Copyable Checklist
Use the following checklist for each shipment of imported stainless steel parts. Print it, fill it in, and file it with the receiving record.
- Confirm the supplier’s passivation method and expected surface finish.
- Confirm the expected certificate data before parts arrive.
- Check the packaging for damage, moisture, or corrosion.
- Verify the lot number on the parts matches the packing list.
- Verify the lot number on the parts matches the passivation certificate.
- Perform a visual inspection under good lighting.
- Look for rust, pitting, white residue, and uneven color.
- Use a magnifier or microscope for critical parts.
- Perform a citric acid spot test on an inconspicuous area.
- Perform a water drop test if the spot test is inconclusive.
- Record the test result and the surface condition.
- Check the passivation certificate for complete data.
- Escalate any mismatch or red flag to quality.
- Release parts only after all checks pass.
- File the inspection record with the receiving documentation.
This checklist is not a substitute for a full quality agreement. It is a receiving check. For high-value parts, add a salt spray test or a full corrosion test. For low-value parts, the visual and spot checks may be sufficient.
Final Notes for the Receiving Team
Passivation verification is a control, not a formality. The goal is to catch defects before they reach the assembly line or the customer. A well-run incoming inspection reduces rework, reduces customer complaints, and reduces the cost of defective parts.
The checklist above is a starting point. Adjust it to your specific parts and applications. If you source fasteners, brackets, and structural parts, the risk profile is different. If you source medical or food-grade parts, the standard is higher. The core principle is the same. Verify the passivation before you trust it.
Frequently asked questions
How do I know if a stainless steel part is passivated?
Passivation is not visible. You need to look for a clean, dry, rust-free surface and confirm it through a spot test or a certificate. A properly passivated part should not react to a citric acid spot test.
Can I passivate parts myself after receiving them?
Yes, but it is a corrective action, not a substitute for incoming inspection. If parts arrive without passivation or with defects, re-passivation may be possible, but it adds cost and risk. The better approach is to verify passivation at receipt.
What is the difference between passivation and pickling?
Pickling is a chemical cleaning process that removes scale, rust, and other contaminants. Passivation is a chemical treatment that forms a chromium-rich oxide layer. They are different processes, though they may be used together.
Do all stainless steel parts need passivation?
Most stainless steel parts benefit from passivation, especially those exposed to moisture, chemicals, or outdoor conditions. Some parts may not require it if the application is low-risk. The decision depends on the material grade and the service environment.
How long should I store parts after passivation?
Store parts in a dry, clean environment. If parts are passivated, they can be stored for extended periods without protection. If they are not passivated or if the passivation is damaged, store them in a dry area and use protective packaging.