Troubleshooting Salt Spray Failures on Coated Parts
Salt spray failure reveals coating breakdown, substrate exposure, or inadequate corrosion testing setup. This guide breaks down common symptoms, identifies likely causes, and provides specific fixes to correct the process and prevent repeat failures.
- Salt spray failure usually stems from coating defects like pinholes or poor adhesion, not just the coating chemistry.
- Verify coating thickness and substrate cleanliness before blaming the finish material.
- Use a structured symptom-to-cause table to isolate whether the problem is in the part, the test, or the specification.
- Track repeat failures by lot and process step to catch systemic issues early.
- Prevent rework by aligning test duration, humidity, and temperature with your specific corrosion testing requirements.
A failed salt spray test can stall a production run or trigger a customer claim. The result is not just a red flag on a report. It is a signal that something went wrong between the raw material and the final finish. Engineers and buyers often look at the coating first. They check the powder, the plating, or the paint chemistry. But the root cause is frequently upstream.
This section walks through the diagnostic path. It separates the symptoms seen in the chamber from the process steps that created them. The goal is to stop guessing and start correcting the line.
What Does a Salt Spray Failure Actually Look Like?
The visual evidence matters. Different failure modes point to different problems. A white bloom, a red rust ring, or a blistered area all tell a different story. Do not treat every failure the same.
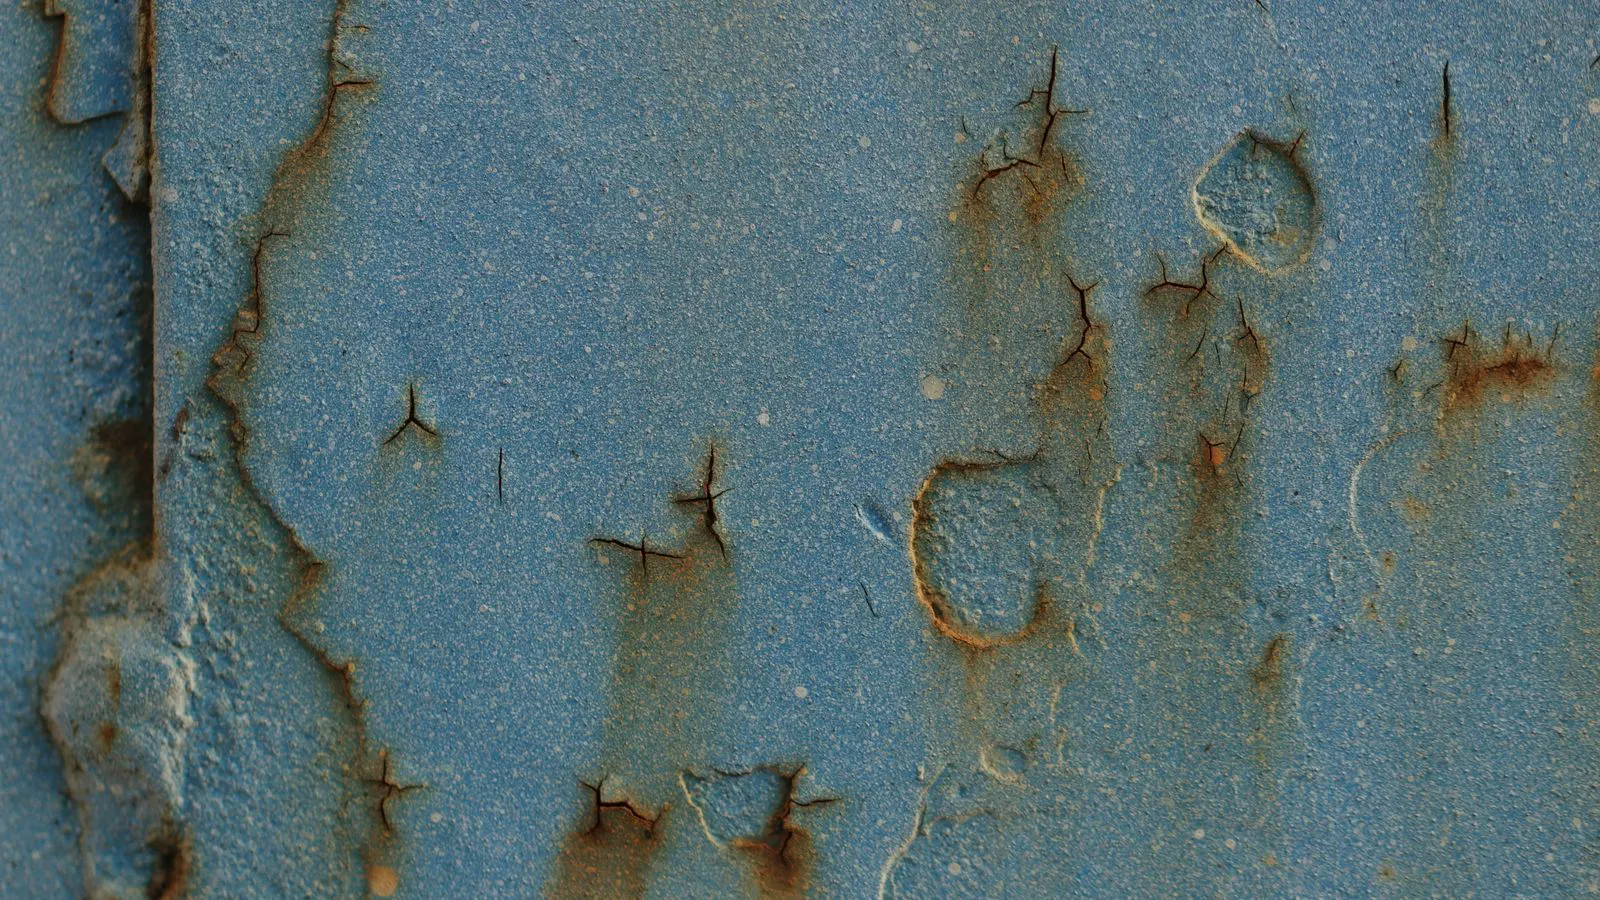
A white or grayish film on the coating surface is often electrolytic corrosion or salt residue. It can happen before the coating is fully compromised. A red or brown stain is rust. That means the substrate is exposed and the coating has failed to protect it. Blistering shows that moisture or gas got trapped under the film. Peeling or flaking indicates a bond problem between the coating and the metal.
If the failure appears only at edges, corners, or drilled holes, the issue is likely application related. If it appears randomly across a flat panel, the problem is more likely in the coating material or the substrate preparation.
Why Do Coating Defects Cause Early Failure?
Coating defects are the most common cause of salt spray failure. They are usually created during application, not during testing. A thin spot lets salt water reach the metal instantly. A pinhole does the same. Poor adhesion lets moisture wick under the film and lift it off.
Pinholes often come from dust, overspray, or a solvent problem. If the primer is not fully dry before the topcoat goes on, the solvent can trap air. That air bubble grows under pressure or expands with temperature changes. The result is a void that acts as a channel for corrosion.
Poor adhesion is trickier. It comes from a dirty substrate, wrong surface profile, or the wrong primer for the material. Steel with oil on it will not bond to powder coat. Aluminum with an anodizing seal that is too thick can block the primer. Zinc-plated parts need a specific treatment to make the coating stick. If the surface is too smooth or too rough, the film may not grip correctly.
How to Diagnose the Root Cause
Once you have the failed part, you need to inspect it before you change anything. Do not just re-coat and hope for the best.
- Examine the failure area under a magnifier. Look for pinholes, scratches, or dust contamination.
- Check the coating thickness at the failure point and a few points away. If it is thin, the spray gun was too far away, or the viscosity was wrong.
- Perform a tape test or a cross-cut test on a nearby area. If the coating lifts, the adhesion is weak.
- Review the substrate prep logs. Was the part cleaned? What was the surface profile? Was the primer applied correctly?
- Compare the test conditions to the specification. Did the test use the right humidity, temperature, and salt concentration?
This step separates a process error from a test error. A lot of time is wasted blaming the coating when the test chamber was running too hot or the salt solution was dirty.
Troubleshooting Table: Symptoms and Fixes
Use this table to match what you see in the chamber to what likely happened on the line. It helps you direct your investigation.
| Symptom | Likely cause | What to do |
|---|---|---|
| Red rust at edges or holes | Incomplete coverage, thin film, or sharp edges | Increase coverage at edges, use edge protection, or modify part geometry to reduce stress points |
| Blistering under coating | Trapped solvent, moisture, or gas | Adjust drying times, lower application temperature, or improve substrate drying before coating |
| Peeling or flaking | Poor adhesion, contamination, or wrong primer | Clean substrate thoroughly, verify surface profile, and confirm primer compatibility with the base metal |
| White bloom or salt residue | Electrolytic corrosion or incomplete corrosion testing setup | Check salt concentration, verify humidity, and inspect for pre-existing substrate corrosion |
| Uniform early failure | Thin coating, wrong material, or substrate issue | Verify coating thickness, check material grade, and review substrate prep logs |
| Failure only on one lot | Batch variation, machine drift, or operator error | Audit the specific lot, check machine settings, and review operator training |
How Test Conditions Affect the Result
Corrosion testing is not just about putting parts in a box of salt mist. The conditions matter. A test that is too aggressive can show failures that would not happen in the field. A test that is too mild can hide real problems.
Temperature and humidity control are critical. If the chamber temperature drifts, the salt concentration changes. That changes the evaporation rate. Water can condense on the part. That water can create a different failure mode than the salt mist alone.
The salt solution must be clean. Dust or debris in the solution can scratch the coating. Dirty water can introduce contaminants that accelerate corrosion. Check the solution regularly. Replace it when it gets cloudy or when the pH drifts.
The part positioning matters too. If a part is too close to the mist generator, it gets more salt than the specification intends. If it is too far, it gets less. Follow the standard positioning guidelines for your specific test method.
Preventing Repeat Failures
Fixing one part is not enough. You need to stop the next ten failures. Prevention is about process control and documentation.
First, build a pre-coat checklist. Include surface cleanliness, surface profile, primer application, and coating thickness. Have someone sign off on each step. A simple log prevents the “I thought it was done” problem.
Second, monitor the line. Use inline thickness gauges. Spot check adhesion. Keep the spray guns clean. Change filters regularly. Small drifts in viscosity or temperature add up over time.
Third, review your specification. Make sure the corrosion testing requirements match the service environment. A part for indoor storage does not need the same test as a part for marine use. Over-testing wastes time. Under-testing risks failure.
Fourth, keep a failure log. Track every salt spray failure by lot, part number, and process step. Patterns will emerge. You will see if one supplier, one machine, or one operator is associated with the problems.
When to Escalate
Some failures are not just process issues. They can be material problems. If you use a plating supplier, review their lot certificates. If you use a powder coat, check the batch data. If the substrate is not what you expect, the coating will not perform as specified.
Do not ignore a pattern. If the same failure appears on three different lots, stop the line. Investigate the root cause before the next batch ships. A customer claim is more expensive than a rework order.
Final Checks Before Re-testing
Do not rush the re-test. Re-test only after the fix is verified.
- Confirm the coating thickness is back in spec.
- Confirm the adhesion is good.
- Confirm the substrate prep is clean.
- Run a small batch first.
- Review the test conditions one last time.
If the re-test fails, the root cause was missed. Go back to the inspection step. Do not assume the fix worked. Verify it.
Frequently asked questions
What is the most common cause of salt spray failure?
Pinholes and poor adhesion are the top causes. These usually come from substrate contamination or application errors.
How do I know if a failure is from the coating or the test?
Check the failure pattern. Edge failures point to coating application. Uniform failures may point to test conditions or material issues.
Can I fix a failed part and re-use it?
Sometimes. If the failure is a small pinhole, you can spot repair it. If the adhesion is weak, the part may need a full re-coat or scrapping.
How often should I check the salt spray test solution?
Check it regularly during the test. Replace it when it gets dirty or when the pH changes. Dirty solution causes false failures.
What if the part passes the test but fails in the field?
Your test may not match the service environment. Review the specification. You may need a more aggressive test or a different coating.