Fixing Porous Anodizing: Causes and Prevention
Porous anodizing causes corrosion and poor adhesion due to incomplete sealing or high temperatures. Fix it by correcting bath chemistry, lowering seal temperatures, and extending dwell time. Prevention requires strict process controls and regular testing.
- Porous anodizing appears as a rough, dull surface that absorbs dye poorly and fails salt spray tests.
- The main causes are under-sealing, excessive bath temperatures, or insufficient dwell time in the seal.
- Fixing the defect requires adjusting the sealing process, not just re-dyeing or re-coating the part.
- Prevention depends on consistent process controls, regular bath chemistry checks, and independent third-party inspection.
- Buyers should specify sealing methods and acceptance criteria in RFQs to avoid costly rework.
What Porous Anodizing Looks Like on the Floor
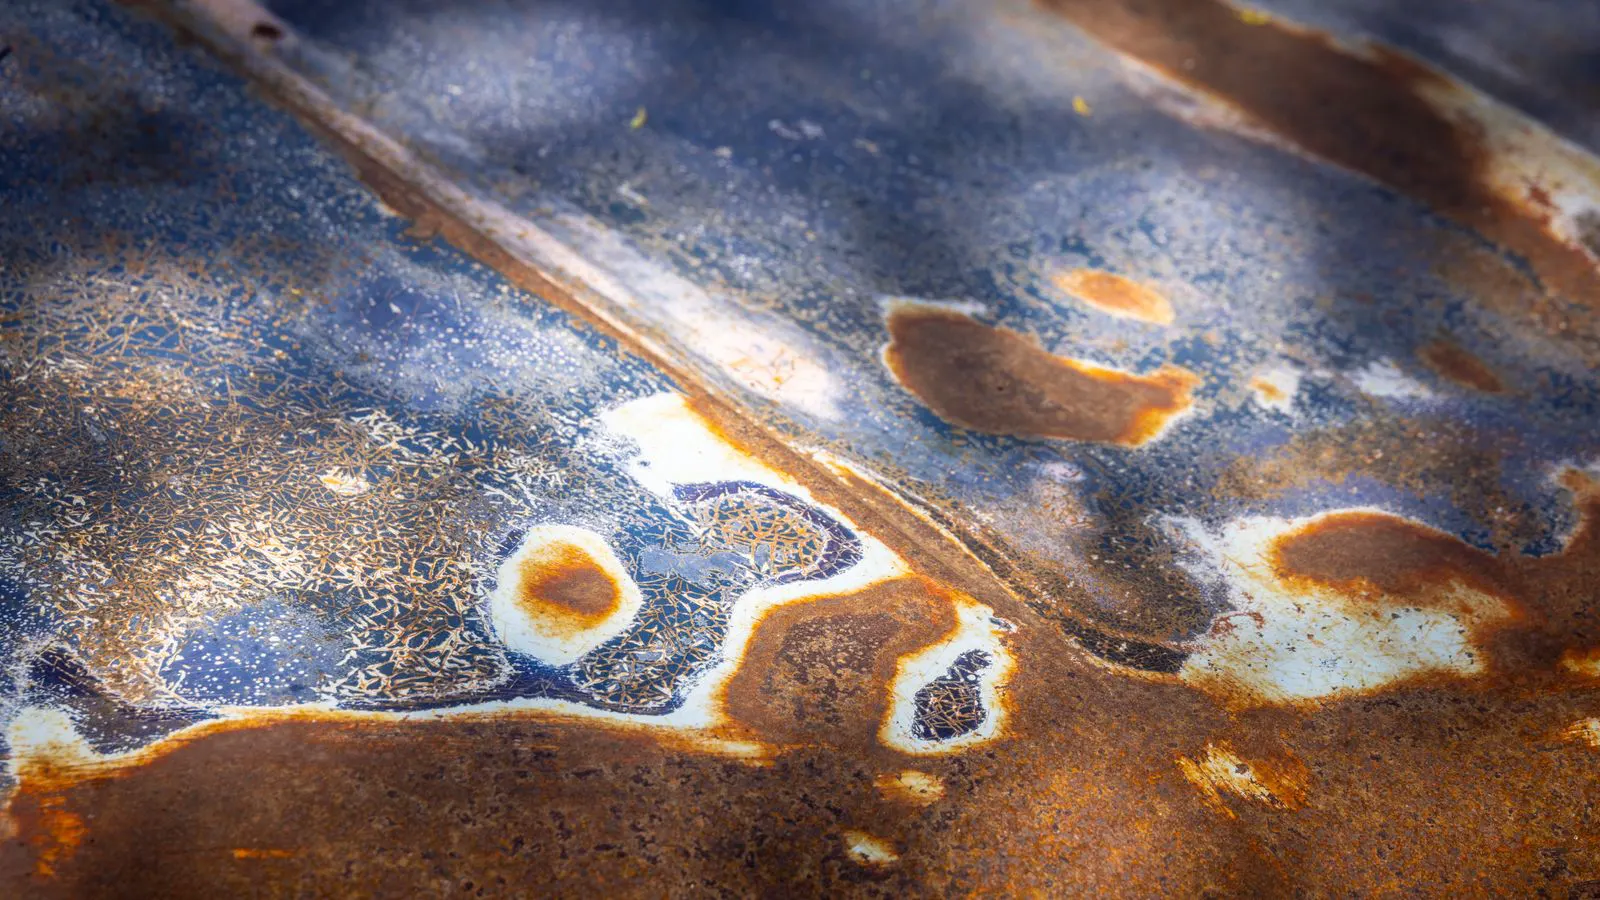
Porous anodizing is a visible failure mode on aluminum parts. The coating looks dull, matte, and uneven. It does not hold dye well. The surface feels slightly rough to the touch, with a texture that feels more like chalky powder than a hard glassy layer. In severe cases, the anodized layer can flake or powder off under light abrasion.
Engineers first notice the problem during visual inspection. Dyeing reveals the defect quickly. The color fades in patches, or the dye soaks into the surface unevenly. A buyer receiving a shipment may spot the issue when the parts look different from the approved sample. The surface lacks the crisp, dense appearance expected from a properly sealed finish.
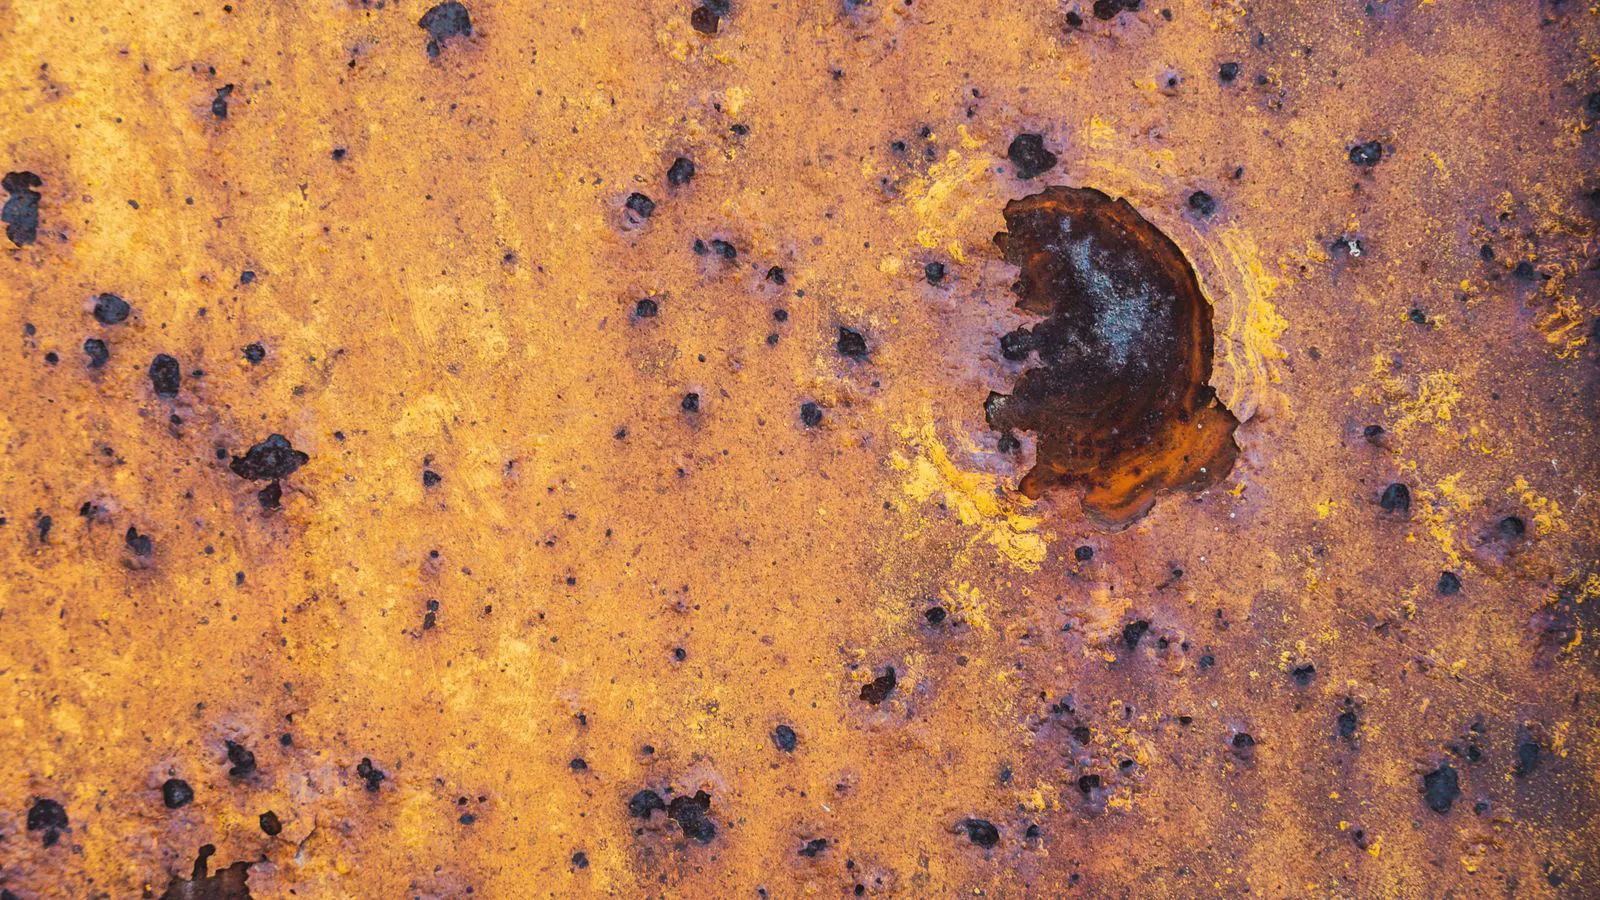
The practical risk is corrosion. A porous oxide layer does not form a continuous barrier against moisture, salts, or chemicals. Water and oxygen penetrate the structure. Aluminum corrosion starts at the microscopic level. It expands the oxide, creates white powdery residue, and weakens the part. In automotive or aerospace applications, this can compromise structural integrity. In consumer electronics, it leads to visible white bloom and customer complaints.
Poor adhesion is the second major concern. Paint, primer, or other coating systems applied over porous anodizing do not bond correctly. The underlying oxide acts as a weak interface. The coating may peel, crack, or blister under mechanical stress. This is a common failure mode in multi-step finishing processes where anodizing precedes powder coating or liquid paint application.
Common Symptoms That Indicate a Problem
Before jumping to a fix, you need to confirm the diagnosis. Not every dark patch on an anodized part is porous anodizing. Some defects are staining, etching, or dye migration. You must distinguish between these.
The first symptom is visual. The surface lacks luster. A properly sealed Type II or Type III anodized part has a smooth, slightly reflective finish. A porous part looks flat and chalky. If you run a fingernail lightly across the surface, the oxide may scratch away in fine powder. This is a physical indication of low density.
The second symptom is dye uptake. During the dyeing stage, porous areas absorb more dye. They appear darker than the surrounding sealed areas. After neutralization and rinse, the difference may become less obvious, but the texture remains. If the part is clear anodized, the surface looks hazy or frosted rather than crystal clear.
The third symptom is failure in accelerated corrosion tests. Salt spray testing is the standard method. A properly sealed anodized part resists white corrosion for hundreds of hours. A porous part shows white corrosion within the first 24 to 48 hours. The corrosion products are white and powdery, not the green or blue stains associated with other metals.
The fourth symptom is poor adhesion of subsequent coatings. If you apply a primer or topcoat, the finish may appear fine initially. Under vibration, temperature cycling, or mechanical abrasion, the coating fails at the interface. The anodized layer acts as a release agent. The failure mode is usually cohesive or interfacial delamination.
The Core Causes of Porous Anodizing
Porous anodizing is not a single failure. It is a system failure. The oxide layer forms during the anodizing bath. Its structure depends on temperature, voltage, and chemistry. The sealing process then determines its final density and durability. Most porous anodizing defects originate in the sealing step, but the anodizing bath parameters set the foundation.
The most common cause is incomplete sealing. The seal process closes the open pores of the anodized oxide. Without this step, the coating remains open to the environment. The seal can fail for several reasons. The sealing bath temperature is too low, preventing the oxide to expand and close. The dwell time is too short, giving the seal no time to work. The sealing bath chemistry is degraded or contaminated, reducing its effectiveness.
The second major cause is excessive temperature during sealing. While low temperature prevents sealing, too high a temperature causes the oxide to expand excessively. The pores widen instead of closing. The resulting layer is thicker but more open. This is a subtle defect. The part may look fine visually, but it will fail corrosion tests quickly. The oxide structure becomes fragile and prone to flaking.
The third cause is contamination in the anodizing bath. Impurities such as iron, copper, or other metals alter the oxide growth. The result is a non-uniform, porous layer even if the seal is performed correctly. This is common in production environments where parts from different alloys pass through the same bath. The bath chemistry shifts over time, creating inconsistent results.
The fourth cause is insufficient rinsing between steps. Water from the anodizing bath carries dissolved salts and acids. If not rinsed thoroughly, these contaminants interfere with the sealing process. The seal chemistry reacts with the contaminants instead of the oxide. The result is a weak, porous seal. This is a process discipline issue, not a chemistry issue.
Fixing Porous Anodizing: A Practical Approach
Once you identify porous anodizing, the fix depends on the stage of production. If the parts are in the shop, you can often correct the process. If the parts have already shipped, the options are more limited.
For parts in the shop, the first step is to re-seal. Remove the parts from the current process flow. Place them in a clean sealing bath. Adjust the parameters to the specifications required for your alloy and oxide type. For Type II anodizing, a hot water seal at 80 to 90 degrees Celsius for 15 to 30 minutes is standard. For Type III, a low-temperature seal at 60 to 70 degrees Celsius may be used. Extend the dwell time if the initial seal was too short.
If the anodizing bath chemistry is degraded, you must correct that first. Re-sealing a porous oxide that formed in a contaminated bath will not solve the problem. The underlying structure is flawed. You must either re-anodize the parts or adjust the bath chemistry to match the alloy requirements. Re-anodizing is expensive and time-consuming. It is usually only justified for high-value parts.
For parts that have already received a secondary coating, the fix is more difficult. You cannot simply re-seal the anodized layer if paint is on top. You must strip the secondary coating, re-seal the anodized layer, and re-apply the paint. This is a major rework operation. It requires careful planning and customer approval.
If the parts are in the field, the practical solution is usually replacement or localized repair. For critical applications, you may apply a sealant or overcoat to the damaged area. This is a temporary measure. It does not restore the original corrosion resistance of the part. It buys time for a proper solution.
Prevention Tips for Consistent Quality
Preventing porous anodizing is cheaper than fixing it. It requires discipline and process control. The goal is to make the process repeatable so that every part comes out of the line with the same density and durability.
The first prevention tip is to control the sealing temperature. Use a calibrated thermometer. Do not rely on visual cues or operator experience. A small temperature drift can change the seal quality. Set alarms for high and low limits. If the temperature drops below the minimum, the seal will be incomplete. If it rises above the maximum, the pores will widen.
The second tip is to monitor the sealing bath chemistry. The seal solution degrades over time. It accumulates impurities from the parts. Test the bath regularly. Use a conductivity meter or specific chemical tests. Replace or top up the bath when it falls outside the specified range. A degraded seal bath is the silent killer of anodizing quality.
The third tip is to control the anodizing bath. The oxide structure depends on the bath chemistry. Keep the bath clean. Filter the solution. Remove sludge and contaminants. Monitor the pH and concentration of key components. A stable bath produces a stable oxide. An unstable bath produces variable results.
The fourth tip is to enforce strict rinse times. Between the anodizing bath and the seal, the parts must be rinsed thoroughly. Use sufficient water flow and dwell time. A quick rinse is not enough. Contaminants from the anodizing bath will interfere with the seal. This is a process step that is often skipped under production pressure.
The fifth tip is to use independent testing. Do not rely solely on visual inspection. Send samples to a third-party lab for salt spray testing. Test for dye uptake and adhesion. Keep a record of results. If a defect appears, you can trace it back to the process parameters. This data is valuable for continuous improvement.
What Buyers Should Specify in RFQs
If you are sourcing anodized parts, you must be clear about your requirements. A vague RFQ will lead to ambiguous results. You need to specify the anodizing type, seal method, and acceptance criteria.
Specify the anodizing type. Type II is standard for general use. Type III is thicker and more durable. Type IV is porous by design and used for dyeing. If you need a dense, corrosion-resistant finish, specify Type II or Type III. Do not assume that all anodizing is the same.
Specify the seal method. Hot water seal, cold water seal, or chemical seal. Each method has different properties. Hot water seal is the most common. It is reliable but requires temperature control. Cold water seal is faster but may not be as durable. Chemical seal is used for specific applications. Make your choice explicit.
Specify the acceptance criteria. Do not just say “good quality.” Define what you will accept. Specify the salt spray test hours. Specify the color difference limit if dyeing is involved. Specify the thickness range. These numbers give the supplier a clear target. They also give you a basis for rejection if the parts do not meet the standard.
Specify the documentation. Require a process control report with each shipment. This should include bath chemistry records, temperature logs, and test results. This documentation is your proof that the process was controlled. It is also your use if a defect appears. Without it, you are relying on the supplier’s word.
When to Escalate or Replace
Sometimes, the cost of fixing porous anodizing exceeds the cost of replacement. You need a clear decision rule. If the defect is widespread, across an entire lot, the process is fundamentally broken. Re-sealing may not be enough. You may need to re-anodize the entire lot. This is a major disruption. It requires downtime and additional labor.
If the defect is isolated, a few parts in a large shipment, re-sealing or re-anodizing those specific parts may be economical. This is a case-by-case decision. Look at the value of the part. If it is a low-cost bracket, replacement is cheaper. If it is a high-value aerospace component, rework may be justified.
If the defect appears in the field after installation, the decision is different. You cannot easily re-seal a part that is mounted in a system. You must replace the part. This is a costly failure. It damages the supplier relationship and disrupts production. Prevention is the only real solution here.
If the supplier cannot provide documentation or process records, treat it as a red flag. A supplier who cannot tell you how their process is controlled is a supplier who cannot guarantee consistent quality. This is a business risk, not just a technical one. You are buying a process, not just a part.
Conclusion for the Buyer
Porous anodizing is a solvable problem. It has clear symptoms, identifiable causes, and practical fixes. The key is to catch it early. Do not wait until the parts are in the field. Inspect at the shop. Test samples. Control the process.
Your role as a buyer is to be specific. Do not leave the details to chance. Specify the anodizing type, the seal method, and the acceptance criteria. Require documentation. Build a partnership based on data and process control, not on hope and visual inspection.
The cost of prevention is small compared to the cost of failure. A small investment in process control and independent testing will save you from costly rework, field failures, and customer complaints. Treat the anodizing process as a critical part of your quality system. It is not just a coating step. It is a performance characteristic of your product.
Frequently asked questions
Can I re-seal anodized parts that already have paint on them?
No. The paint blocks the seal from reaching the oxide. You must strip the paint first, re-seal the anodized layer, and then re-apply the paint. This is a major rework process.
What is the difference between porous and defective anodizing?
Porous anodizing refers to a specific defect where the oxide layer is open and absorbs contaminants. Other defects, such as staining or etching, may look similar but have different causes and require different fixes.
Does Type III anodizing have less porosity than Type II?
Type III is thicker and denser, but it is still an oxide layer with pores. The seal process is critical for both types. Type III does not eliminate porosity, but it provides a thicker barrier that is more resistant to corrosion.
How do I know if my supplier is controlling the sealing process?
Ask for the process control records. A reputable supplier will maintain temperature logs, bath chemistry records, and dwell time documentation. If they cannot provide this, they are not controlling the process effectively.
Is porous anodizing always visible to the naked eye?
Not always. Mild porosity may only show up in accelerated corrosion tests or dye uptake. Visual inspection is a good first check, but it is not sufficient for final quality assurance.